Sunday Dinners: Black Bean and Pork Stew and Enchiladas Suizas
October 5, 2012

Enchiladas Suizas with Spanish-style barley.
We are lucky to be prepping for a trip to western and southern France soon, and in doing so we are immersing ourselves in all things French: beautiful wines, delicious cheeses and of course the language. Having had only a year of French classes way back in high school, I’ve been practicing with some nifty software I bought, but I’ll be damned if my Spanish doesn’t keep intruding like a jealous friend I’ve been ignoring.
Le bâtiment, c’est près d’ici?
Sí, está muy cerca. Sólo tres minutos, más o menos.
Bah!
So it’s perhaps not surprising that, while our heads have been in Provence, our Sunday dinner menus have been on a little south-of-the-border tour recently. We should be priming our palates by cooking coq au vin or cassoulet, but instead we’re drawn to delicious frijol con puerco and enchiladas Suizas. (At least Switzerland is next to France.) A recent Saveur magazine — the Mexico issue — is partially to blame; that and we have a soft spot in our hearts for Mexico and its food.

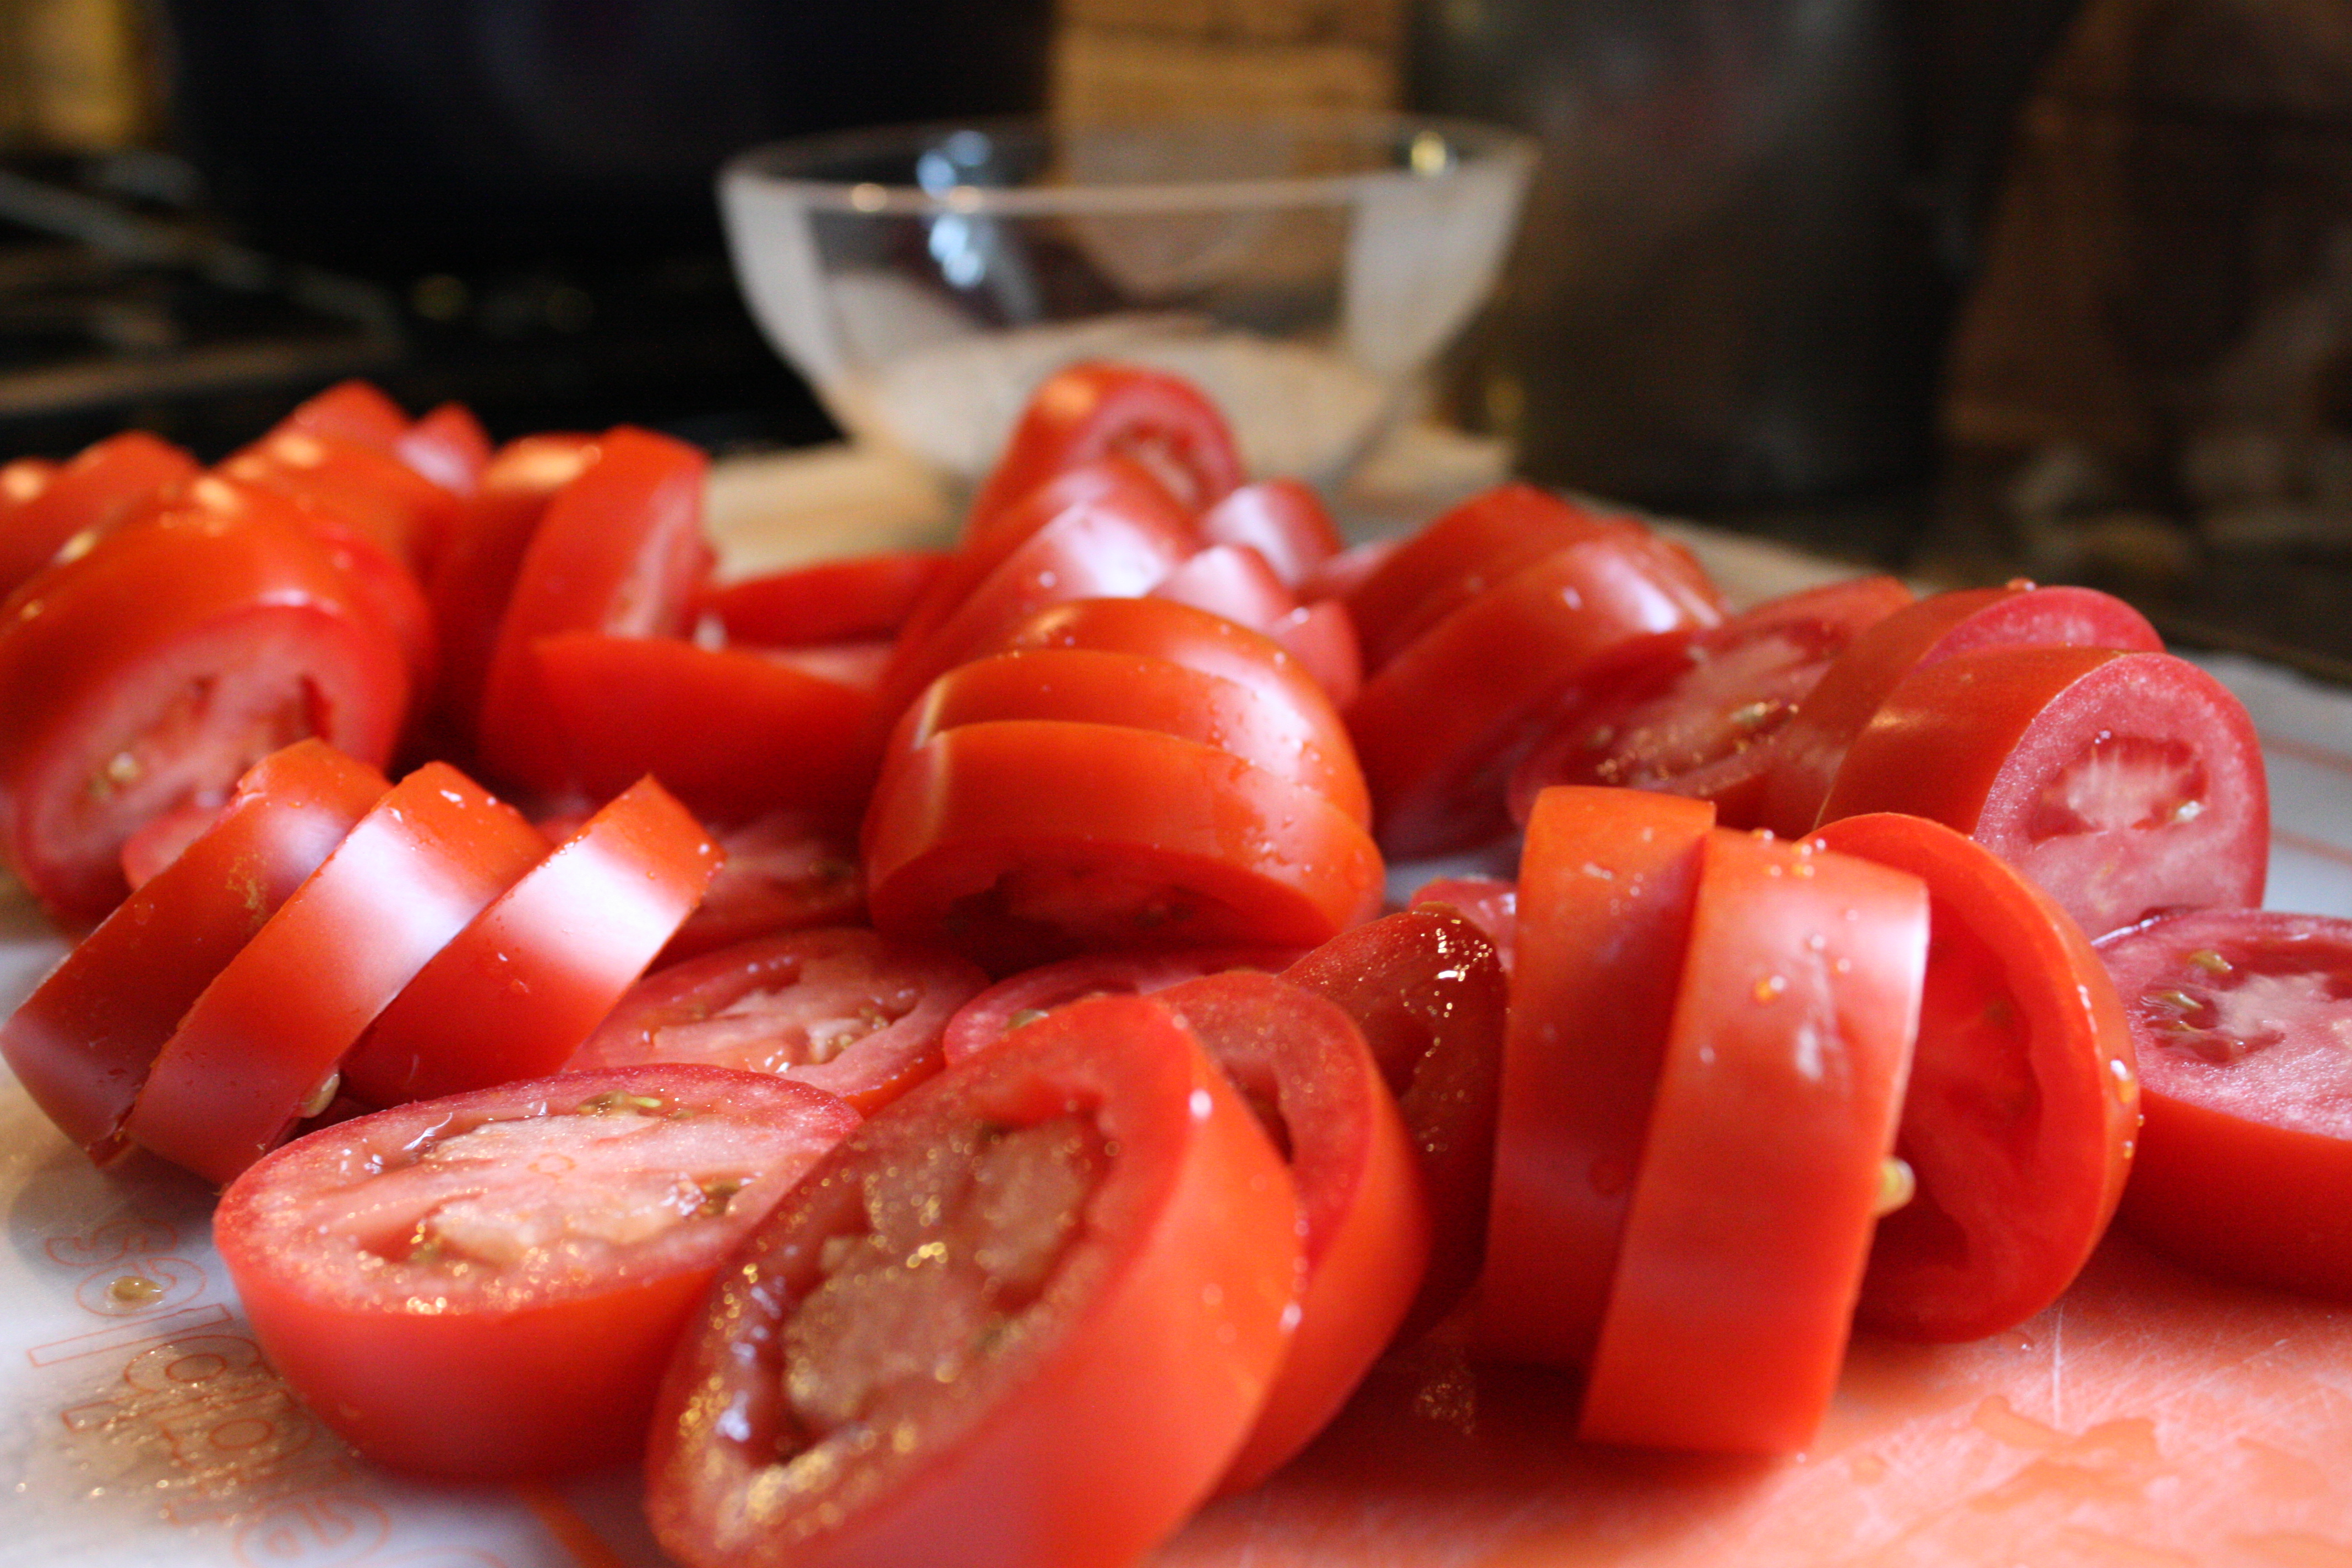
Tomatoes and peppers for the magic sauce.

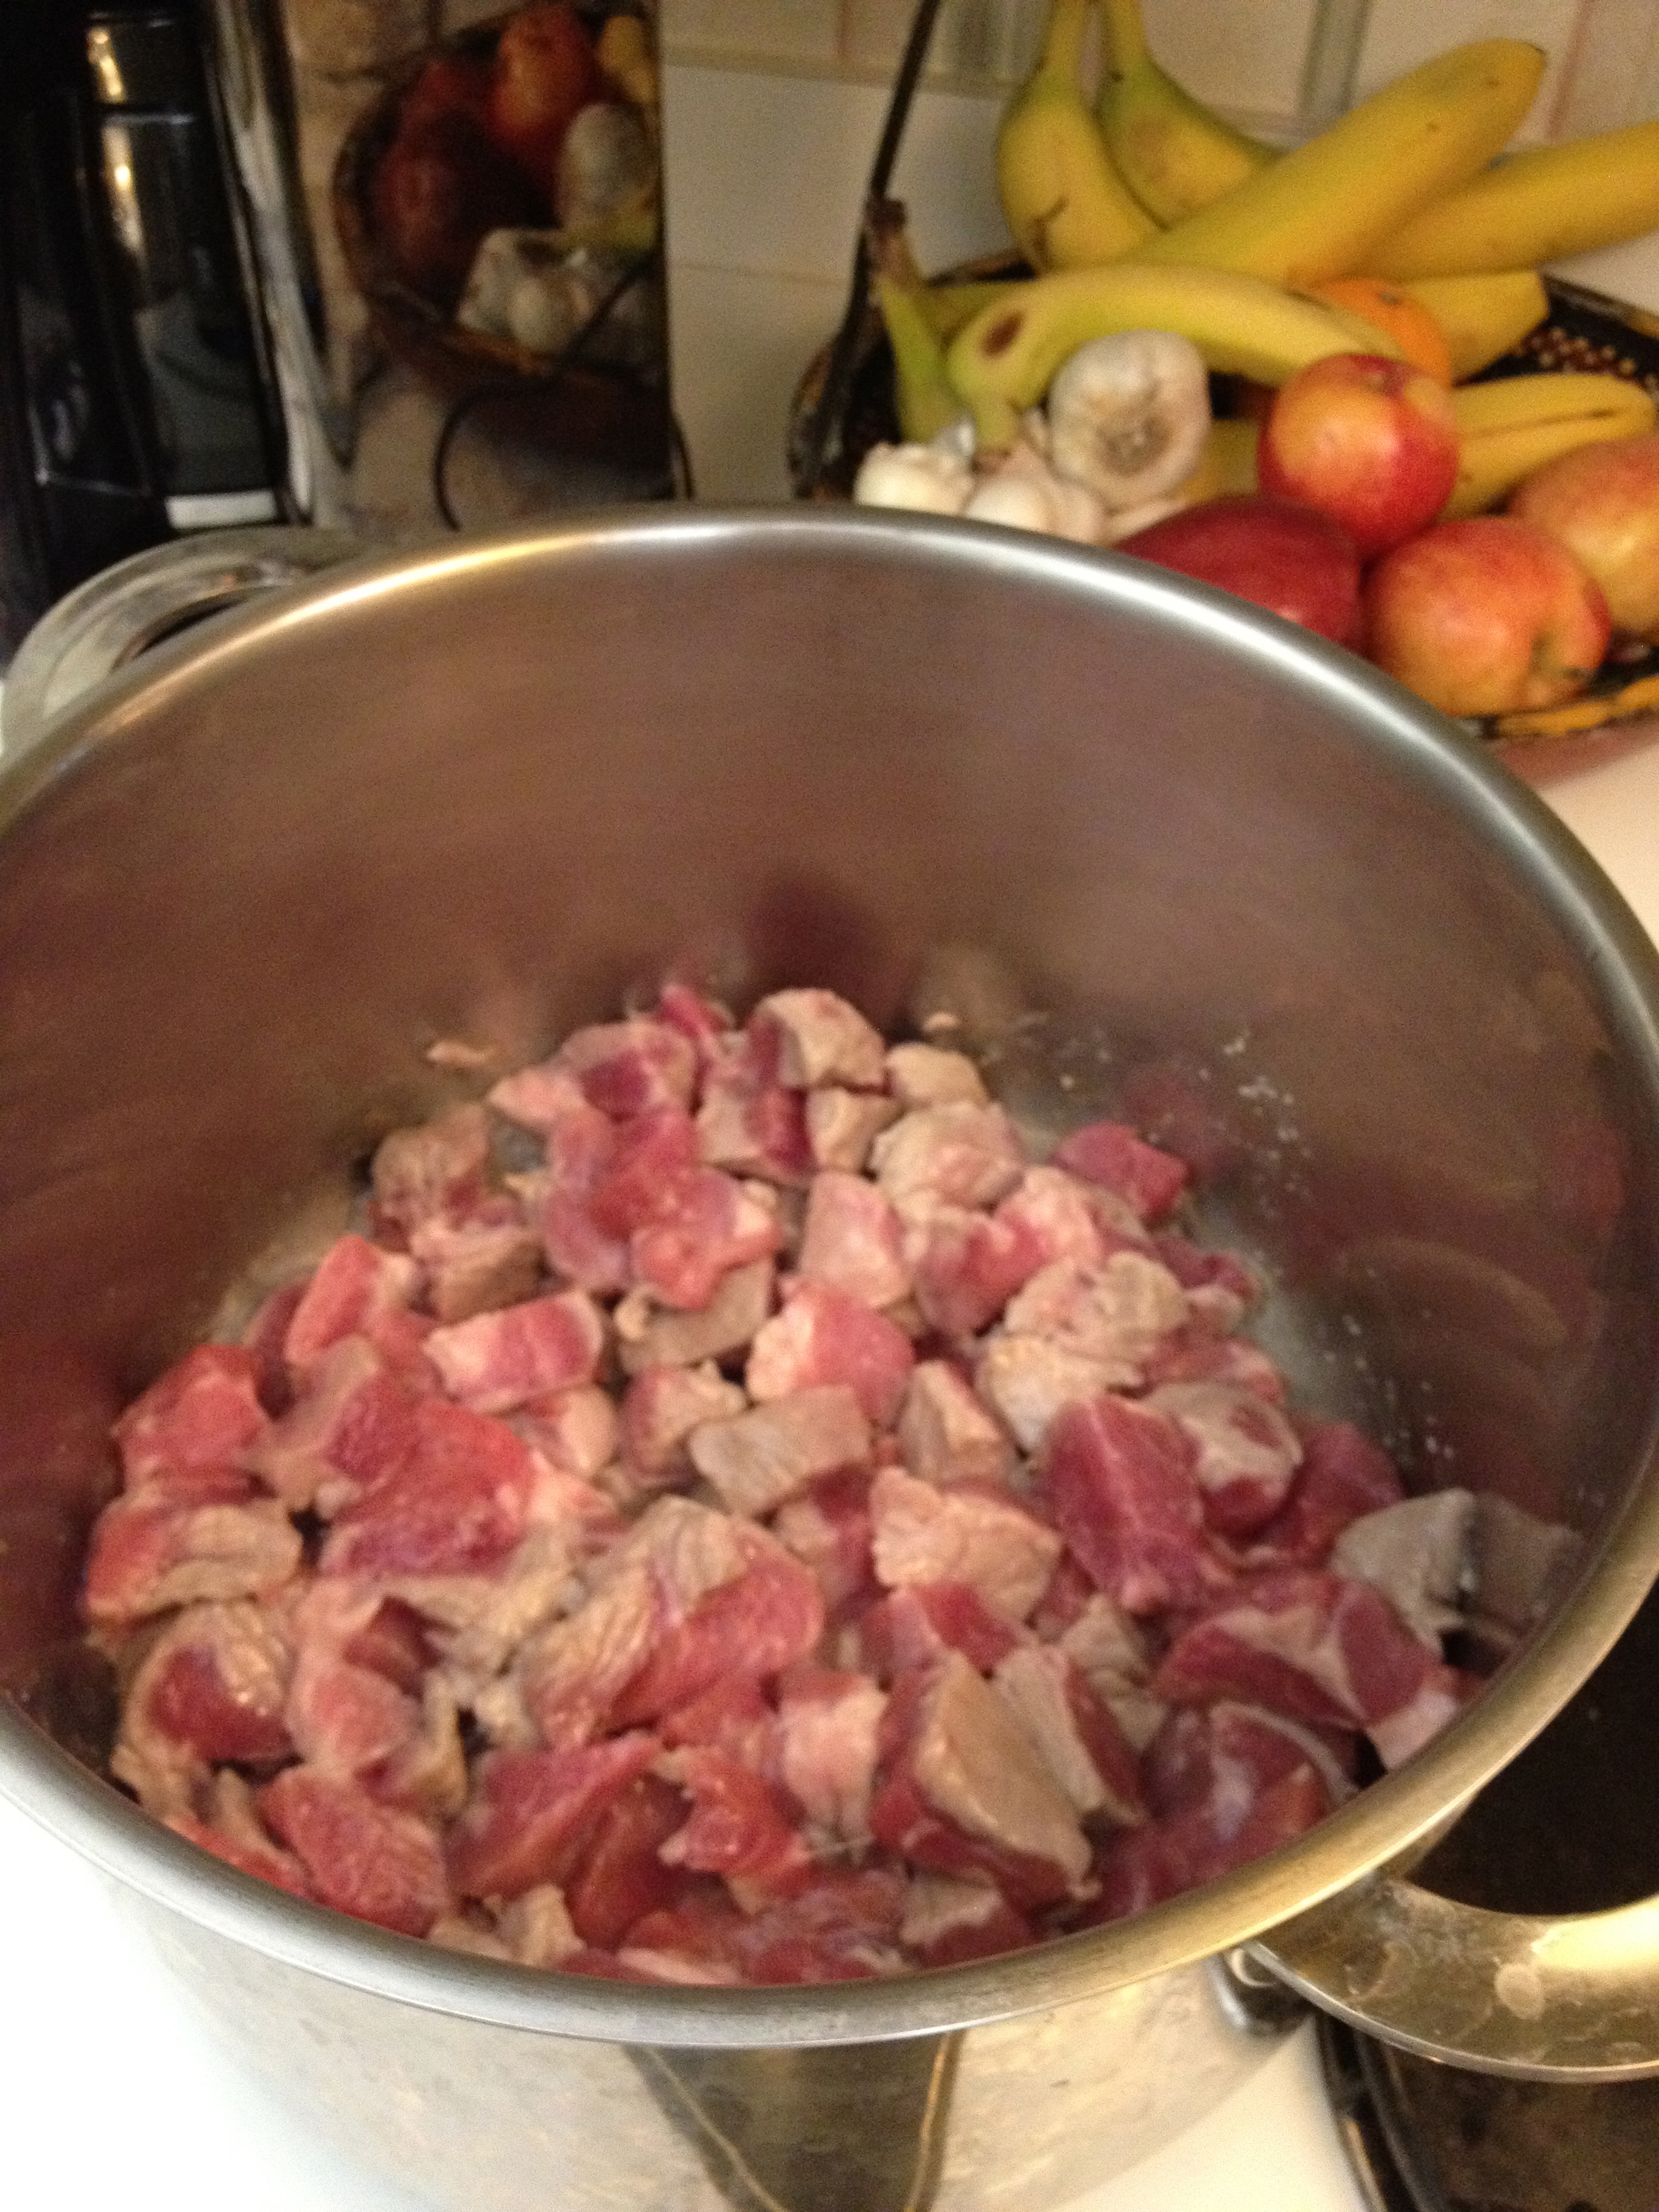
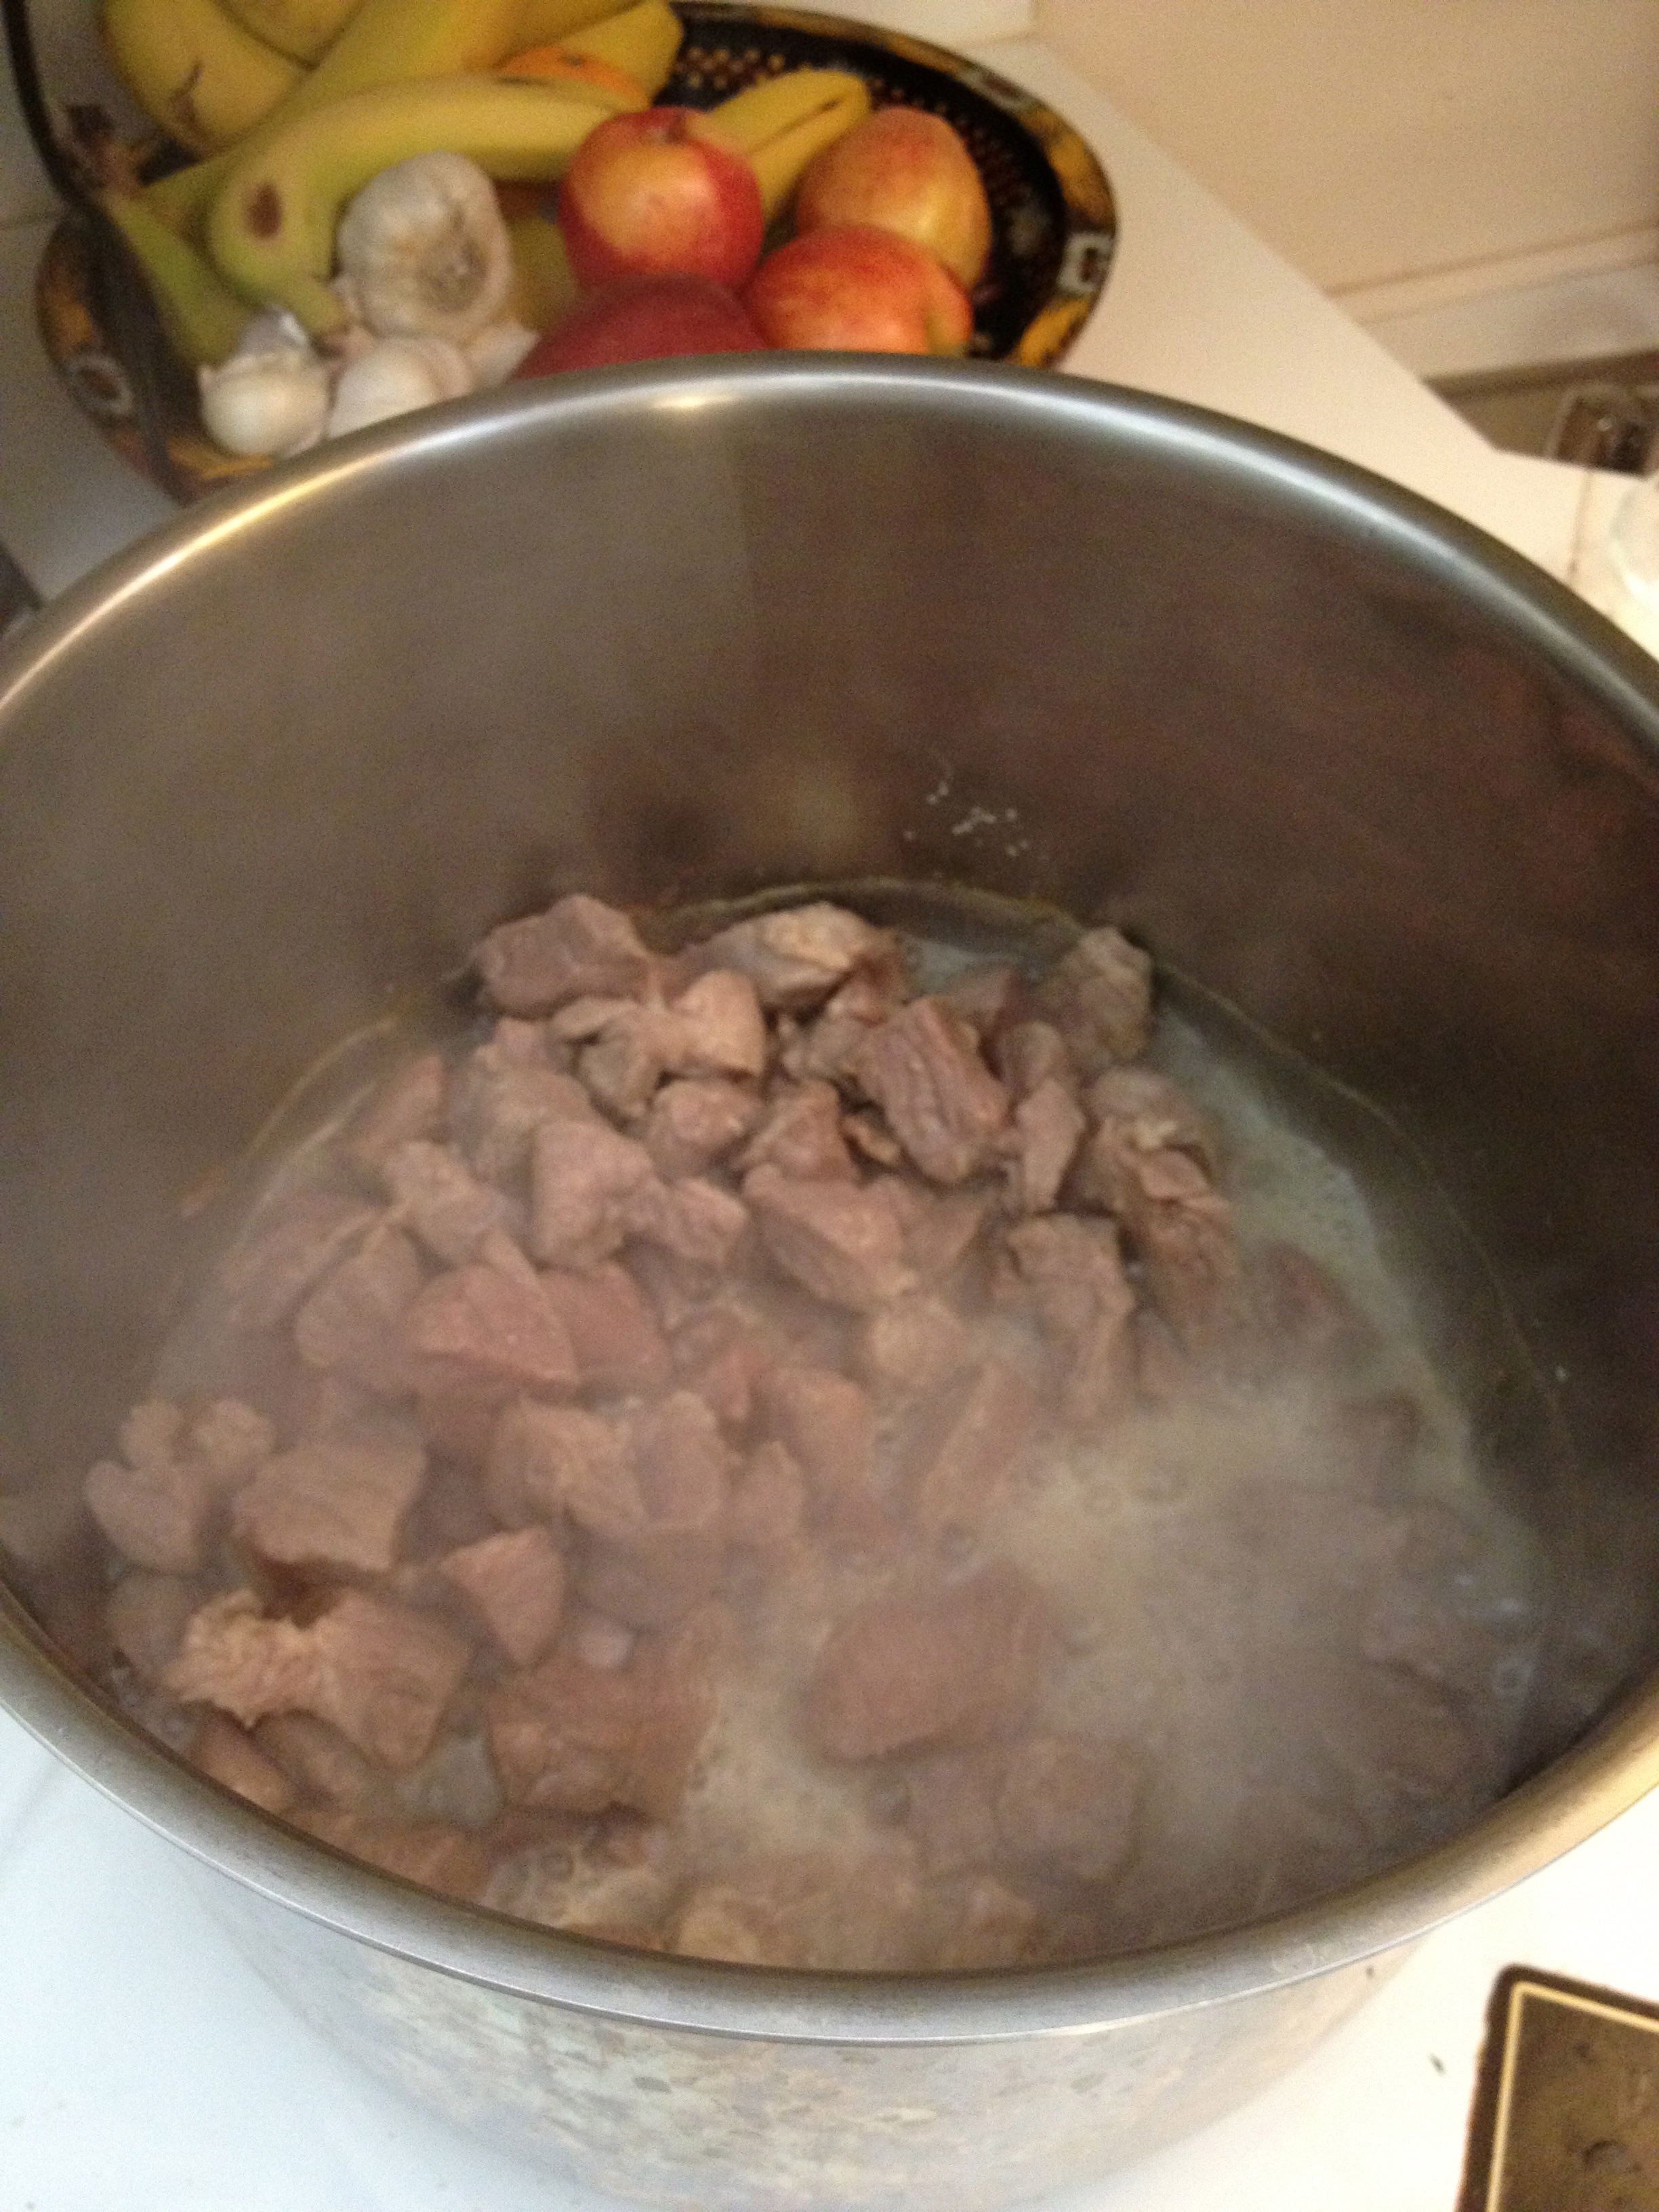
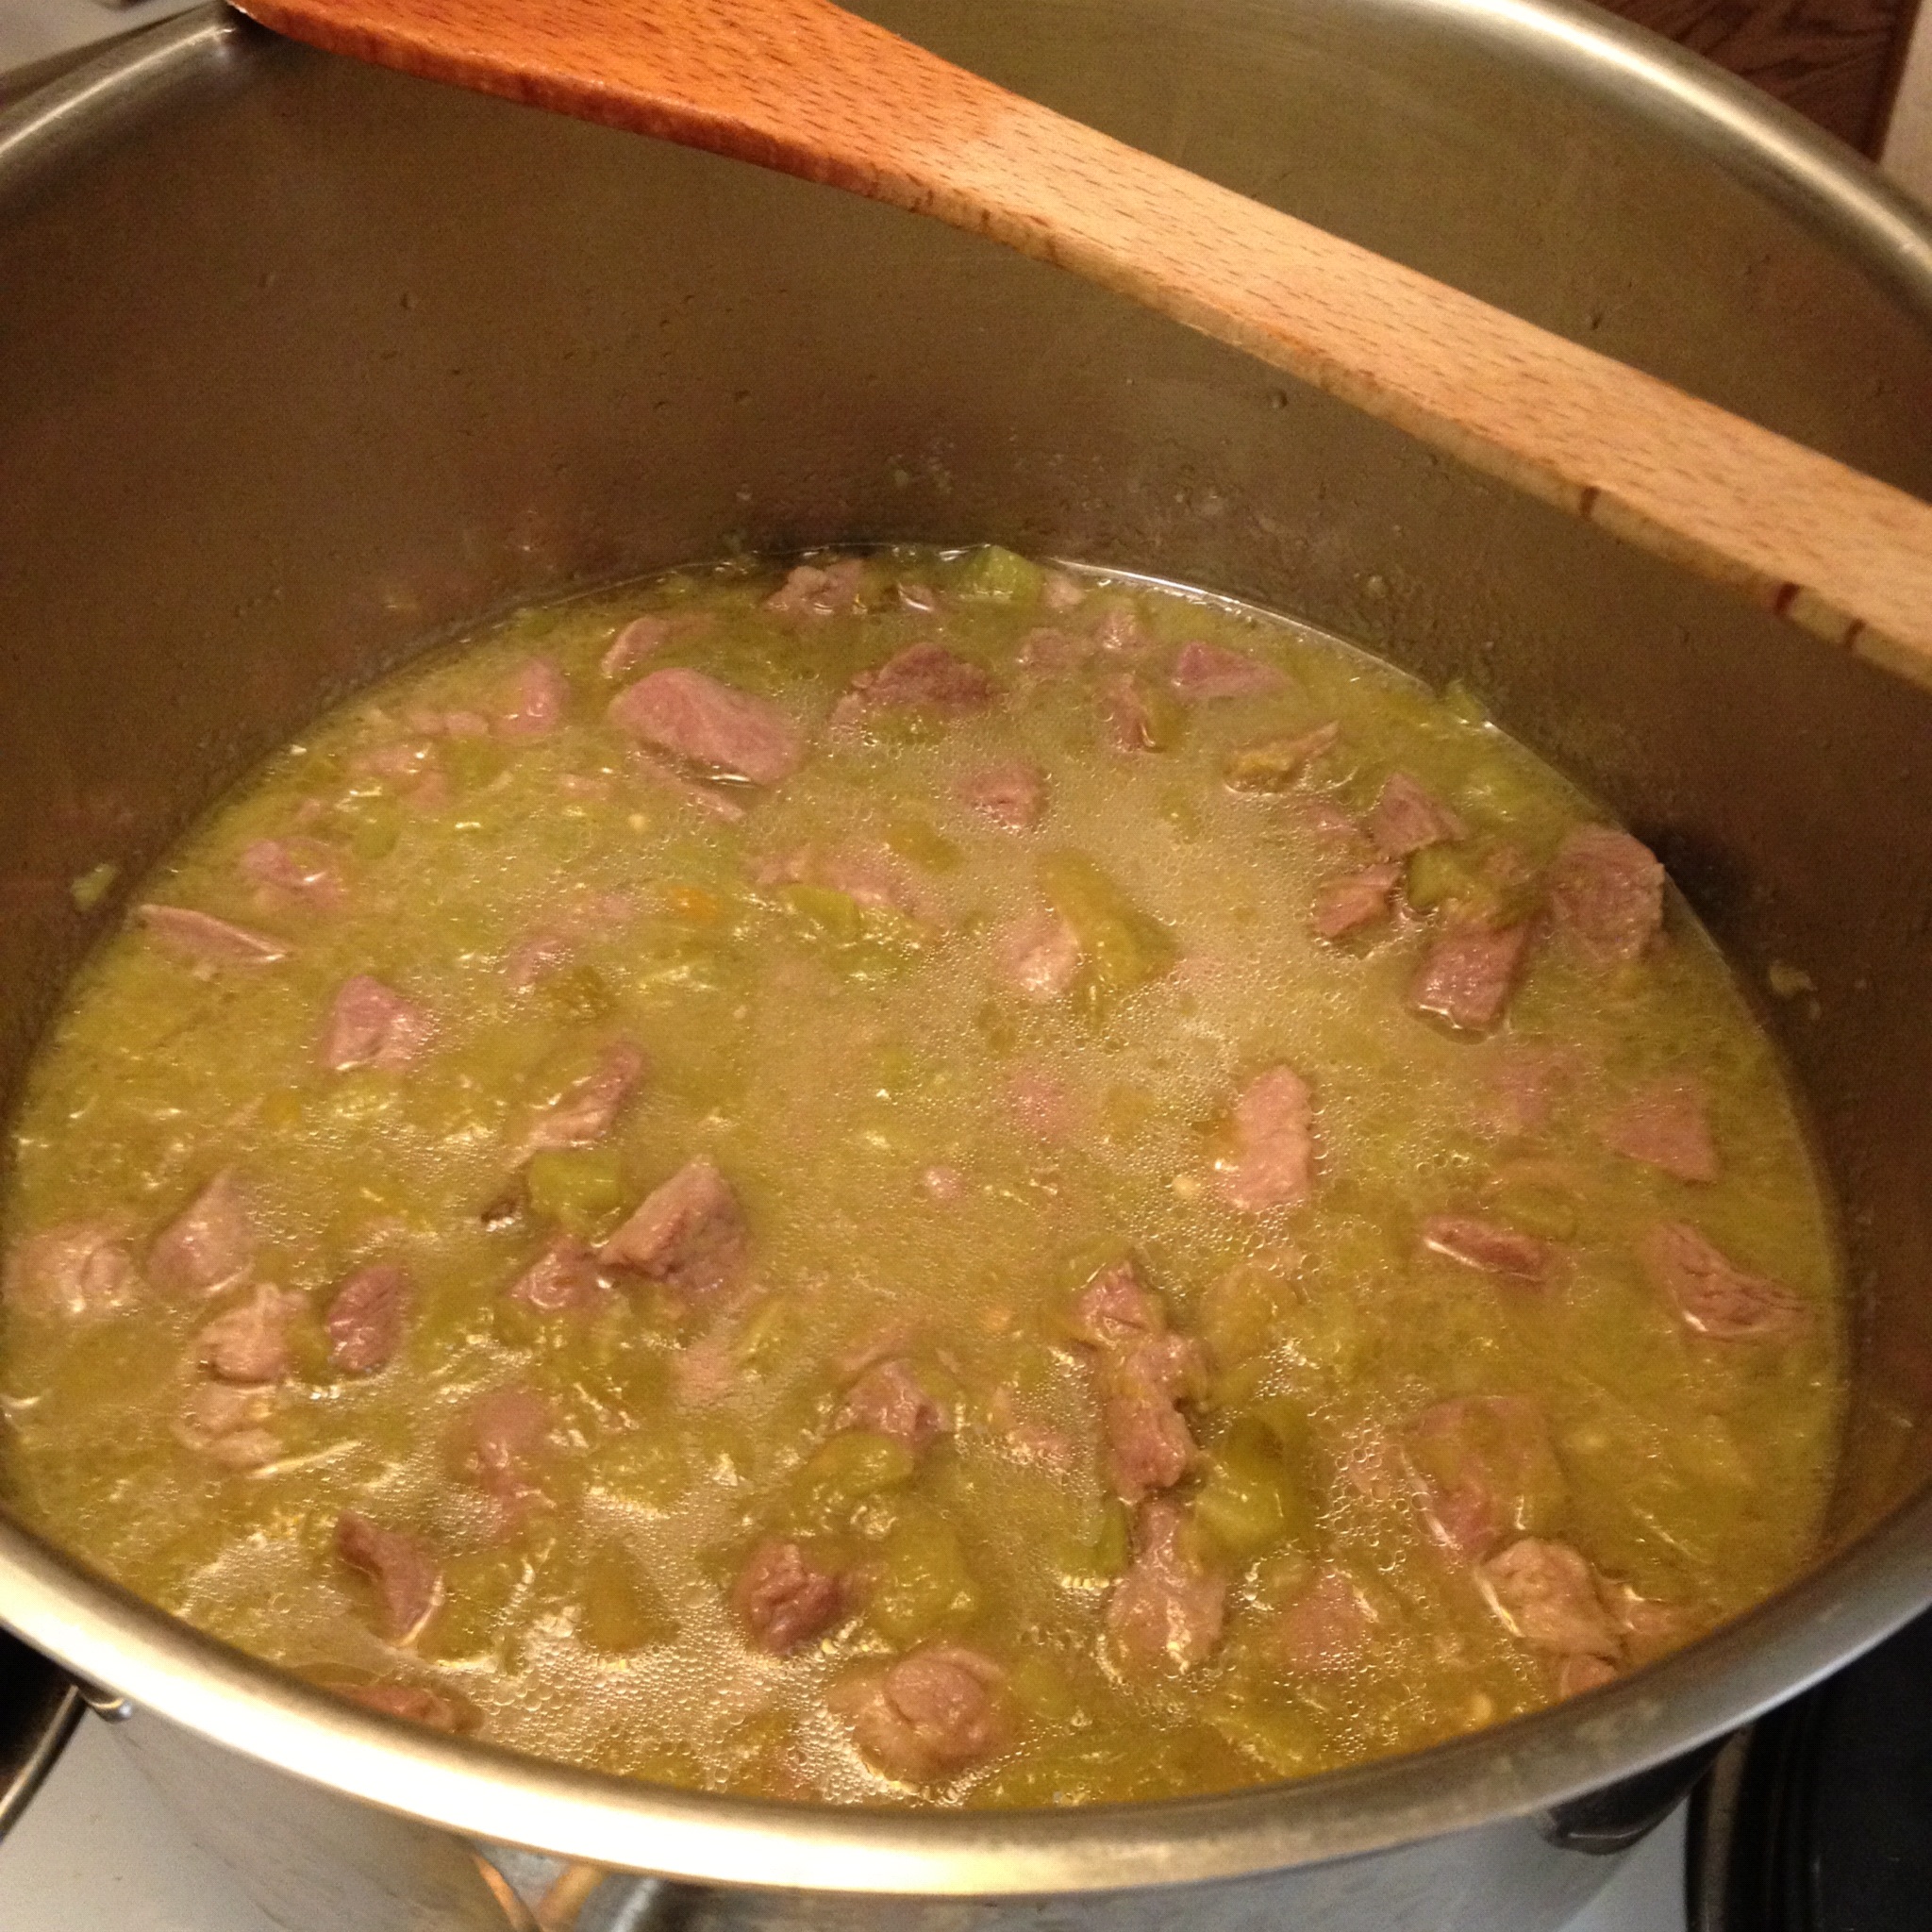
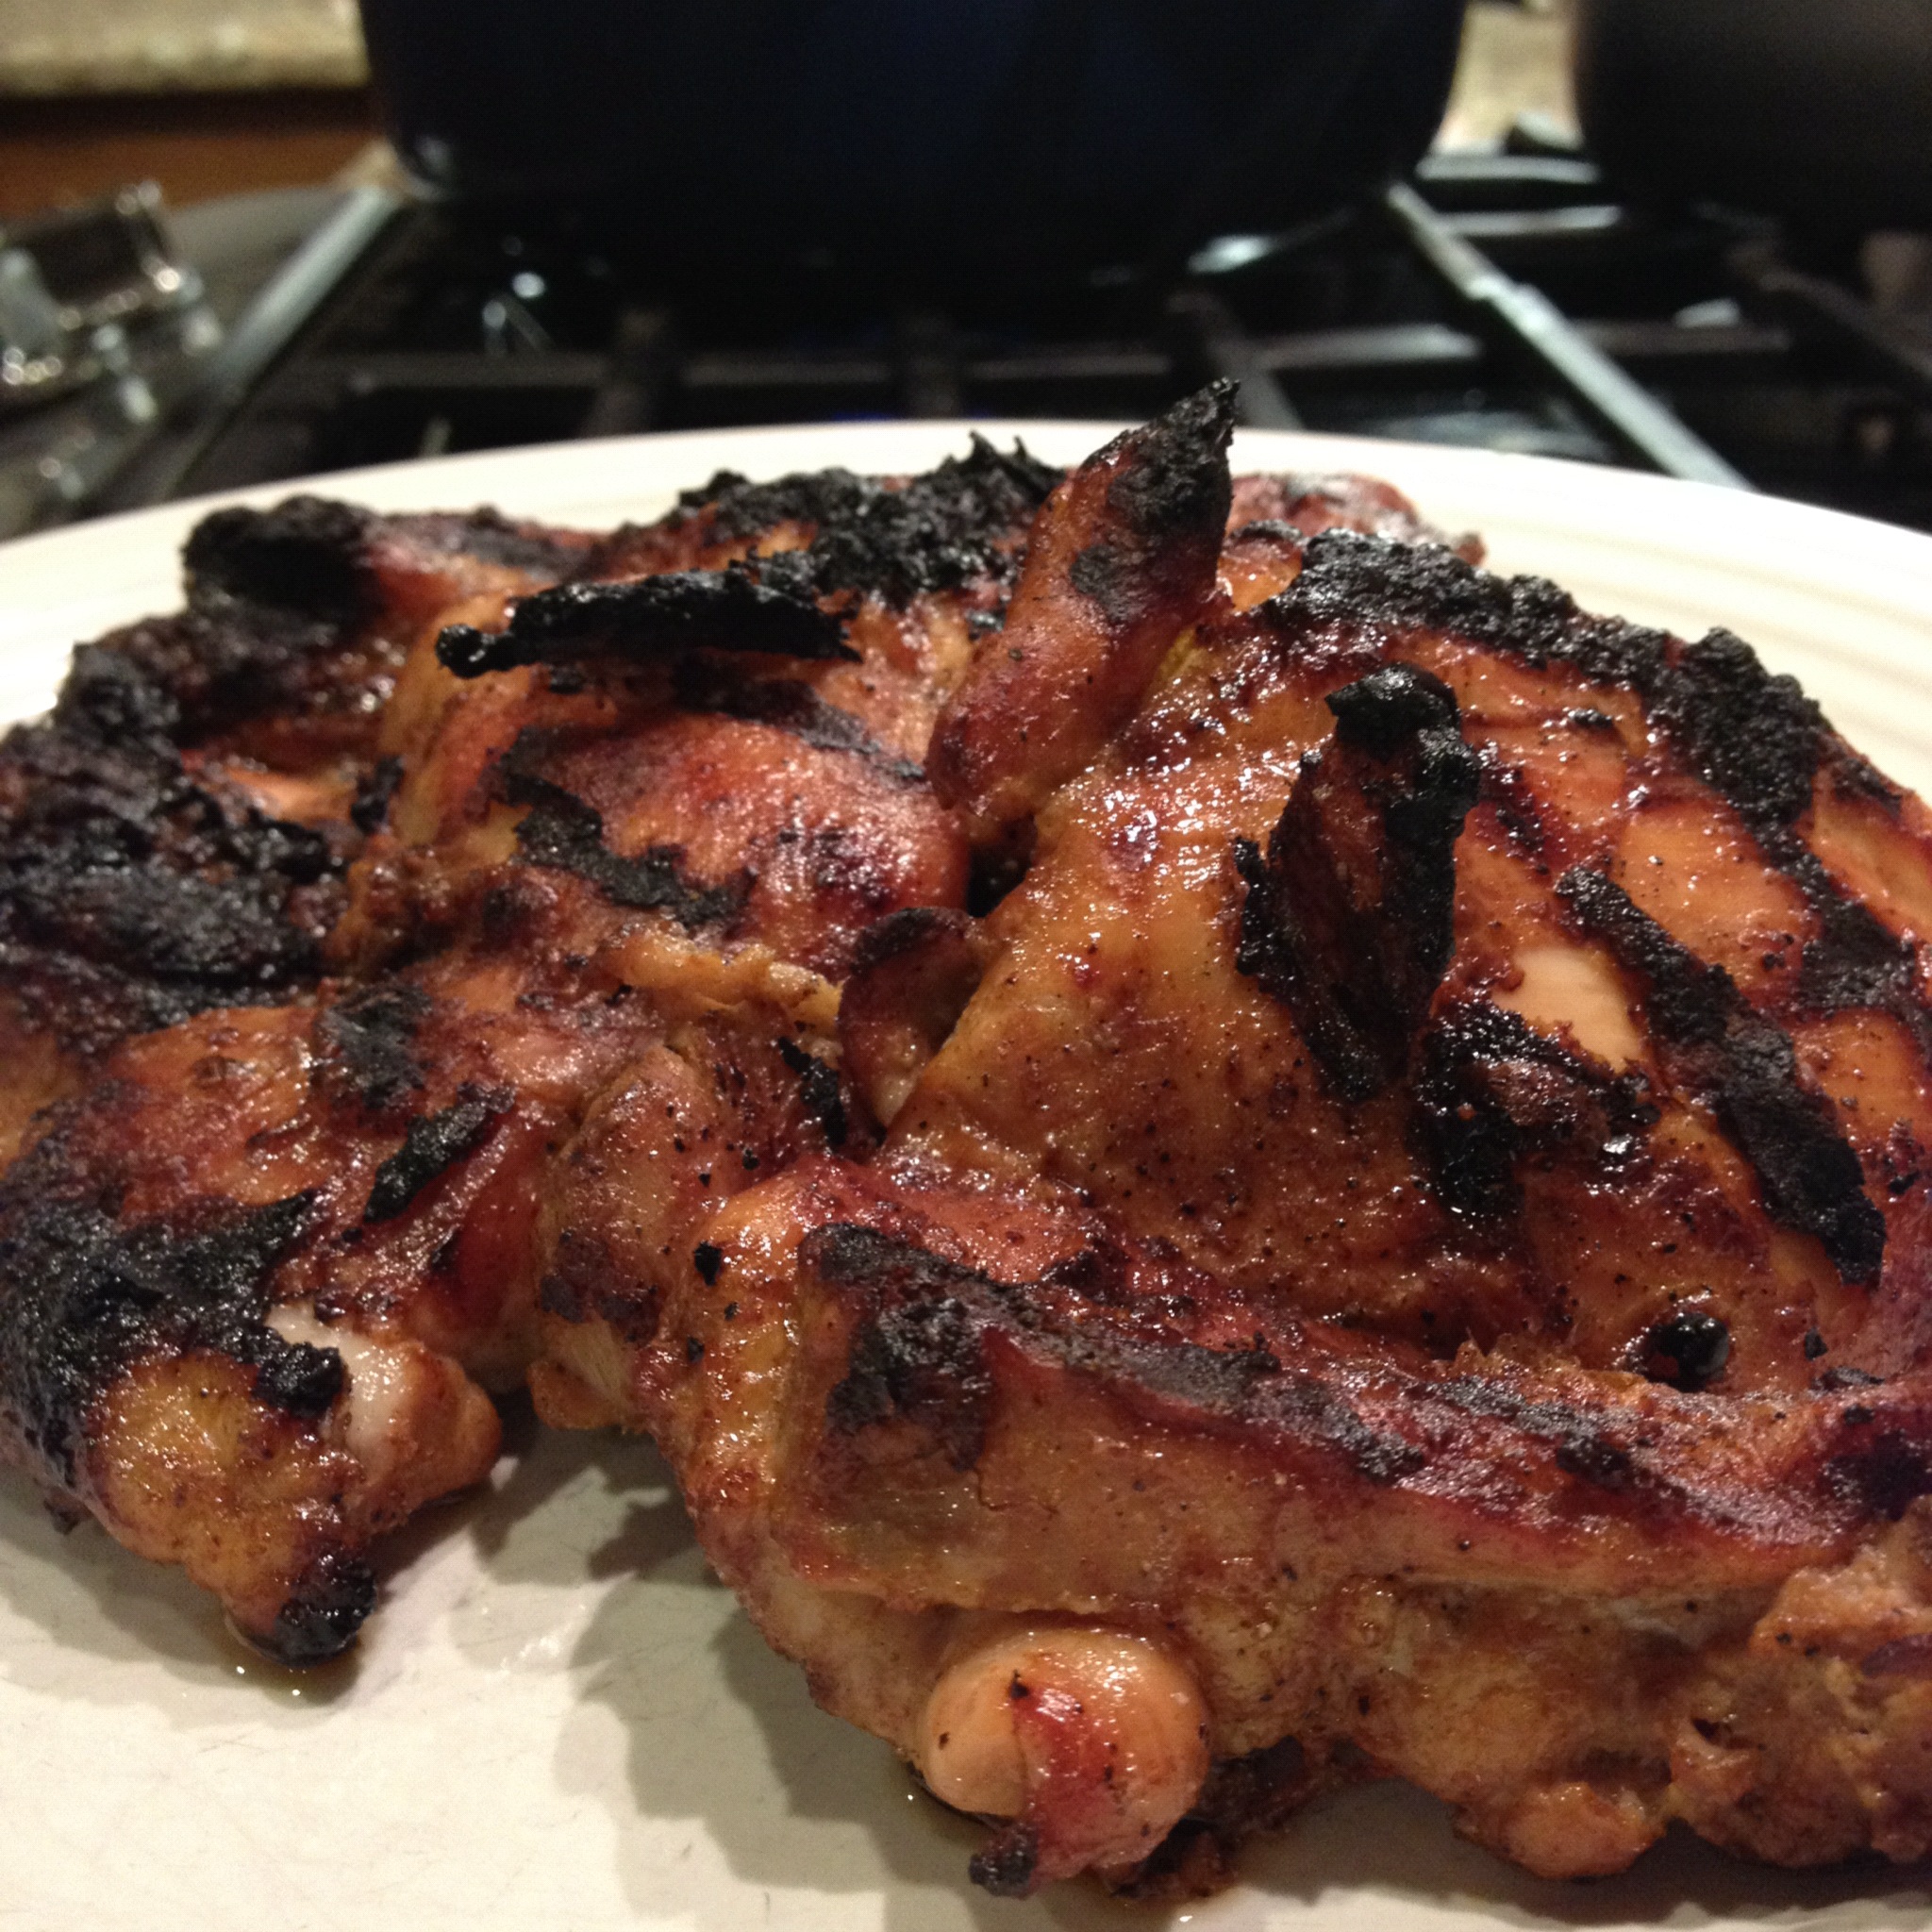
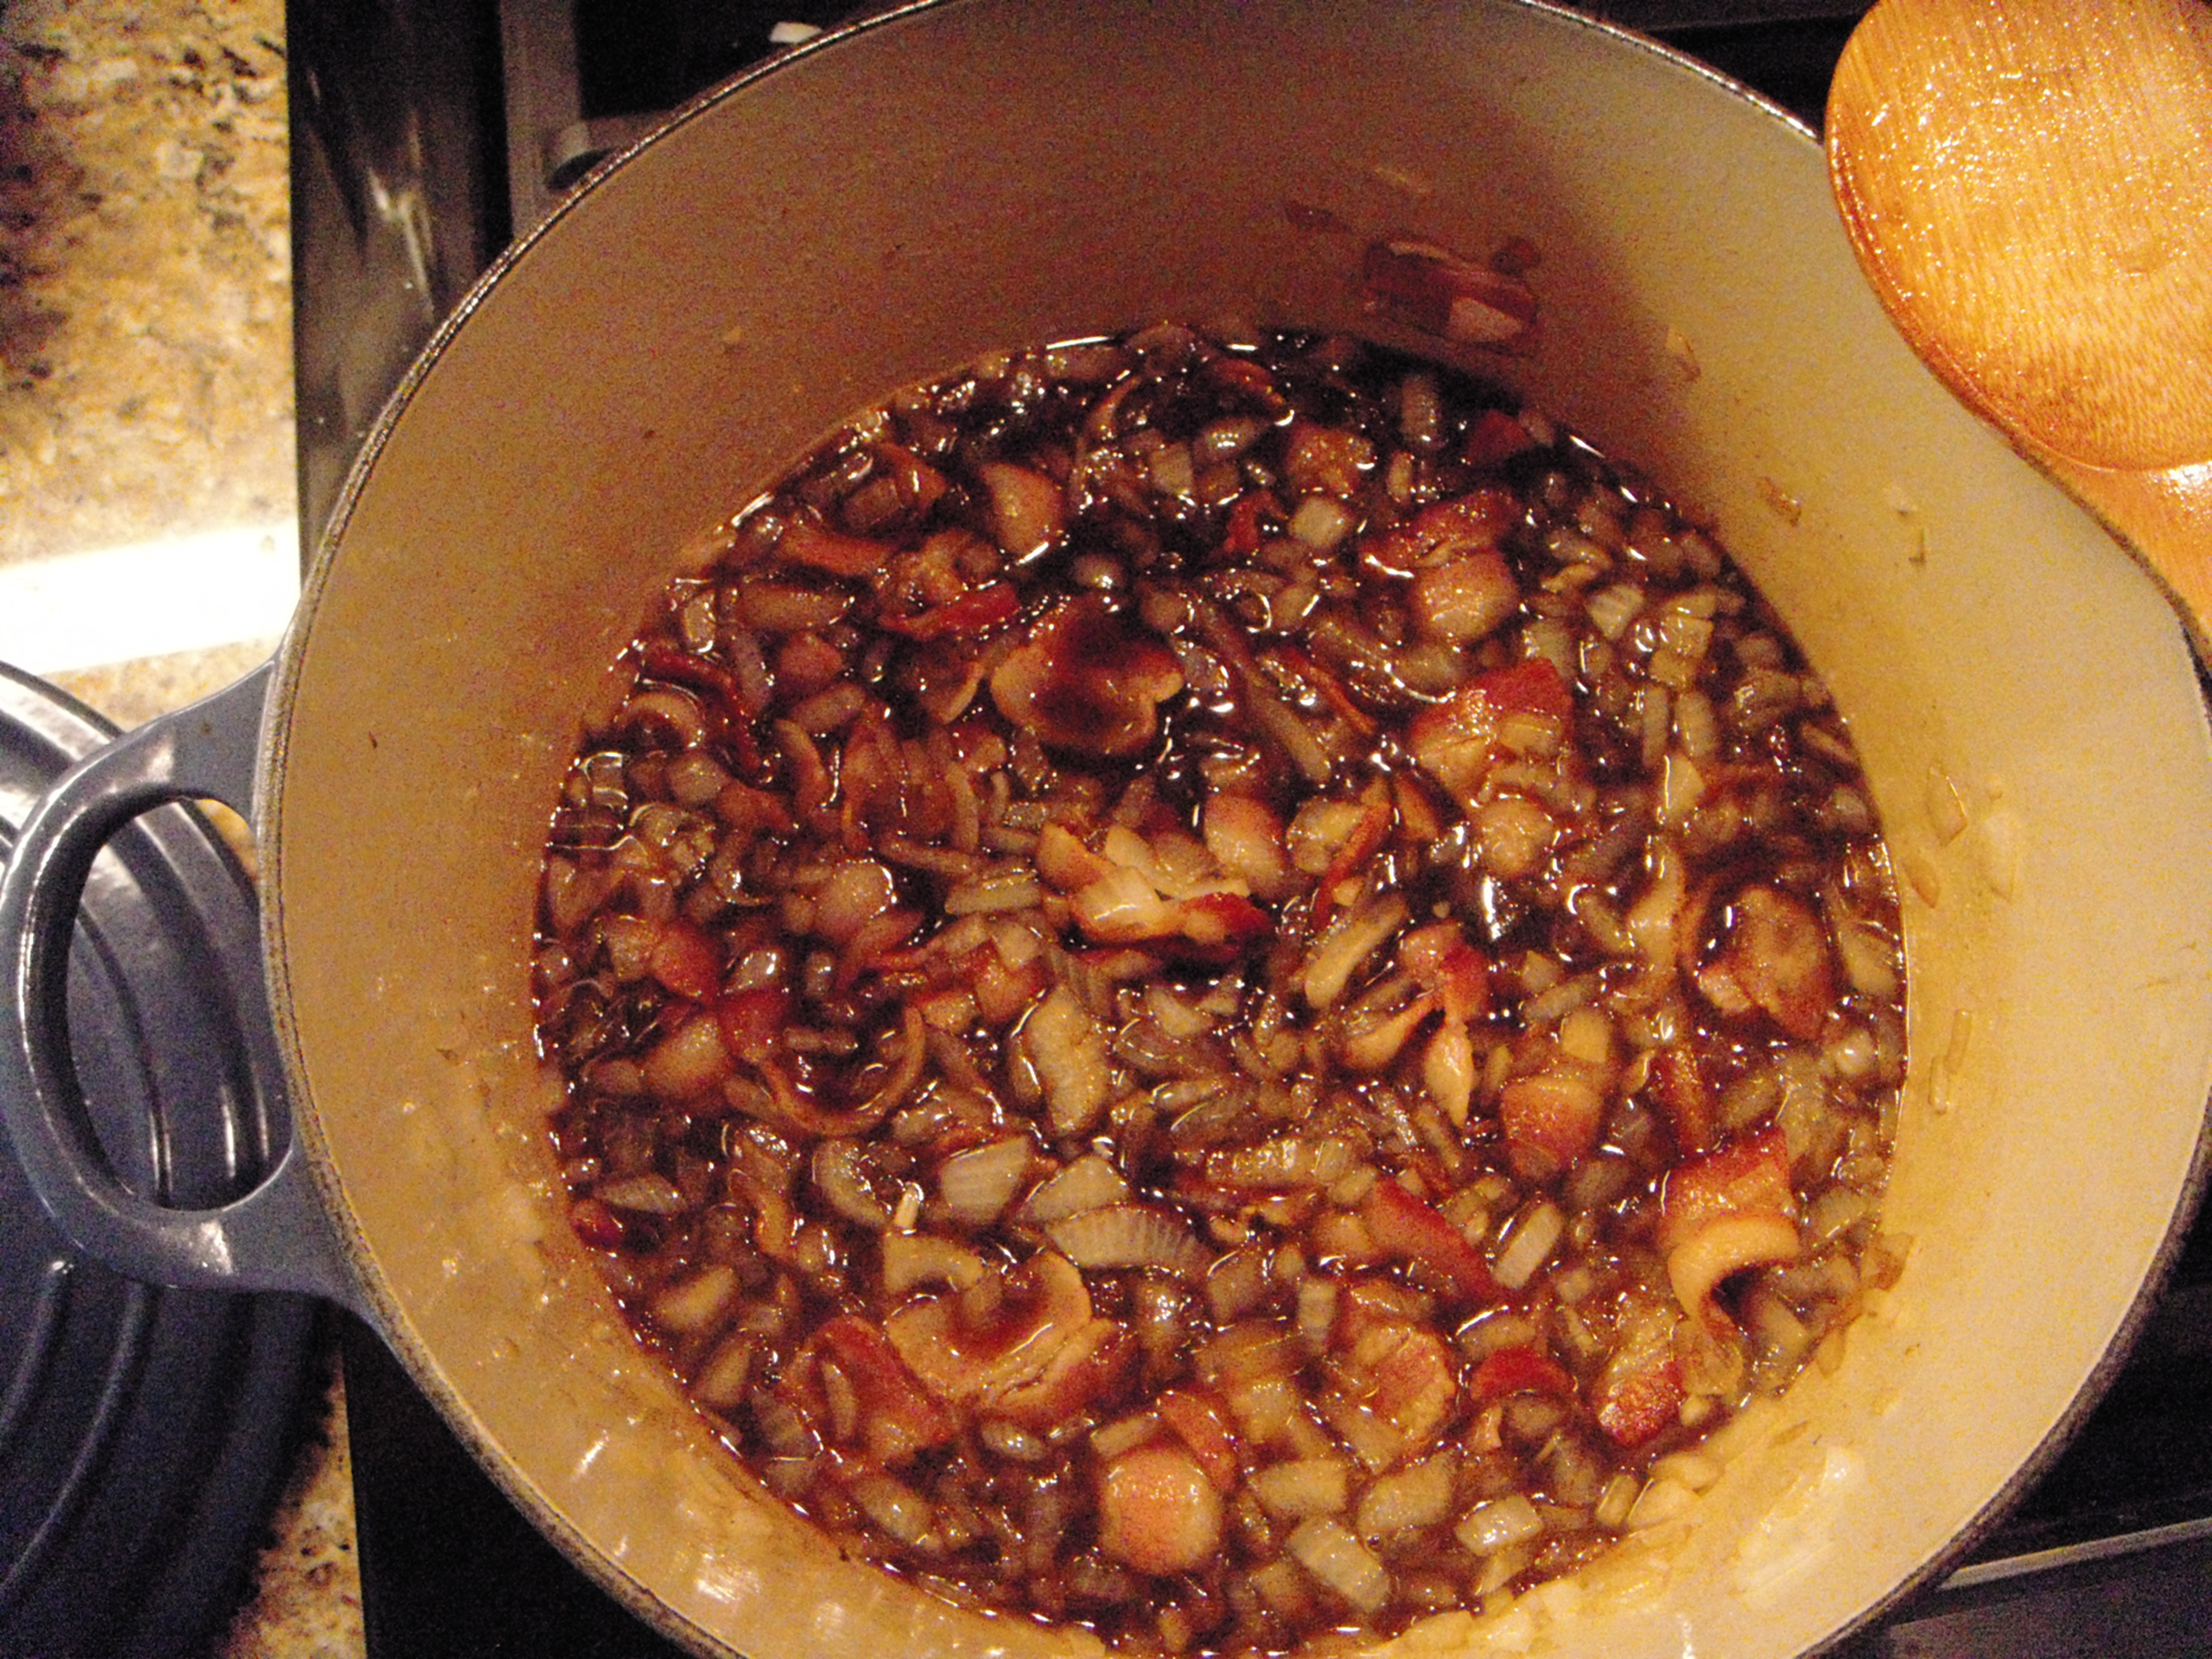
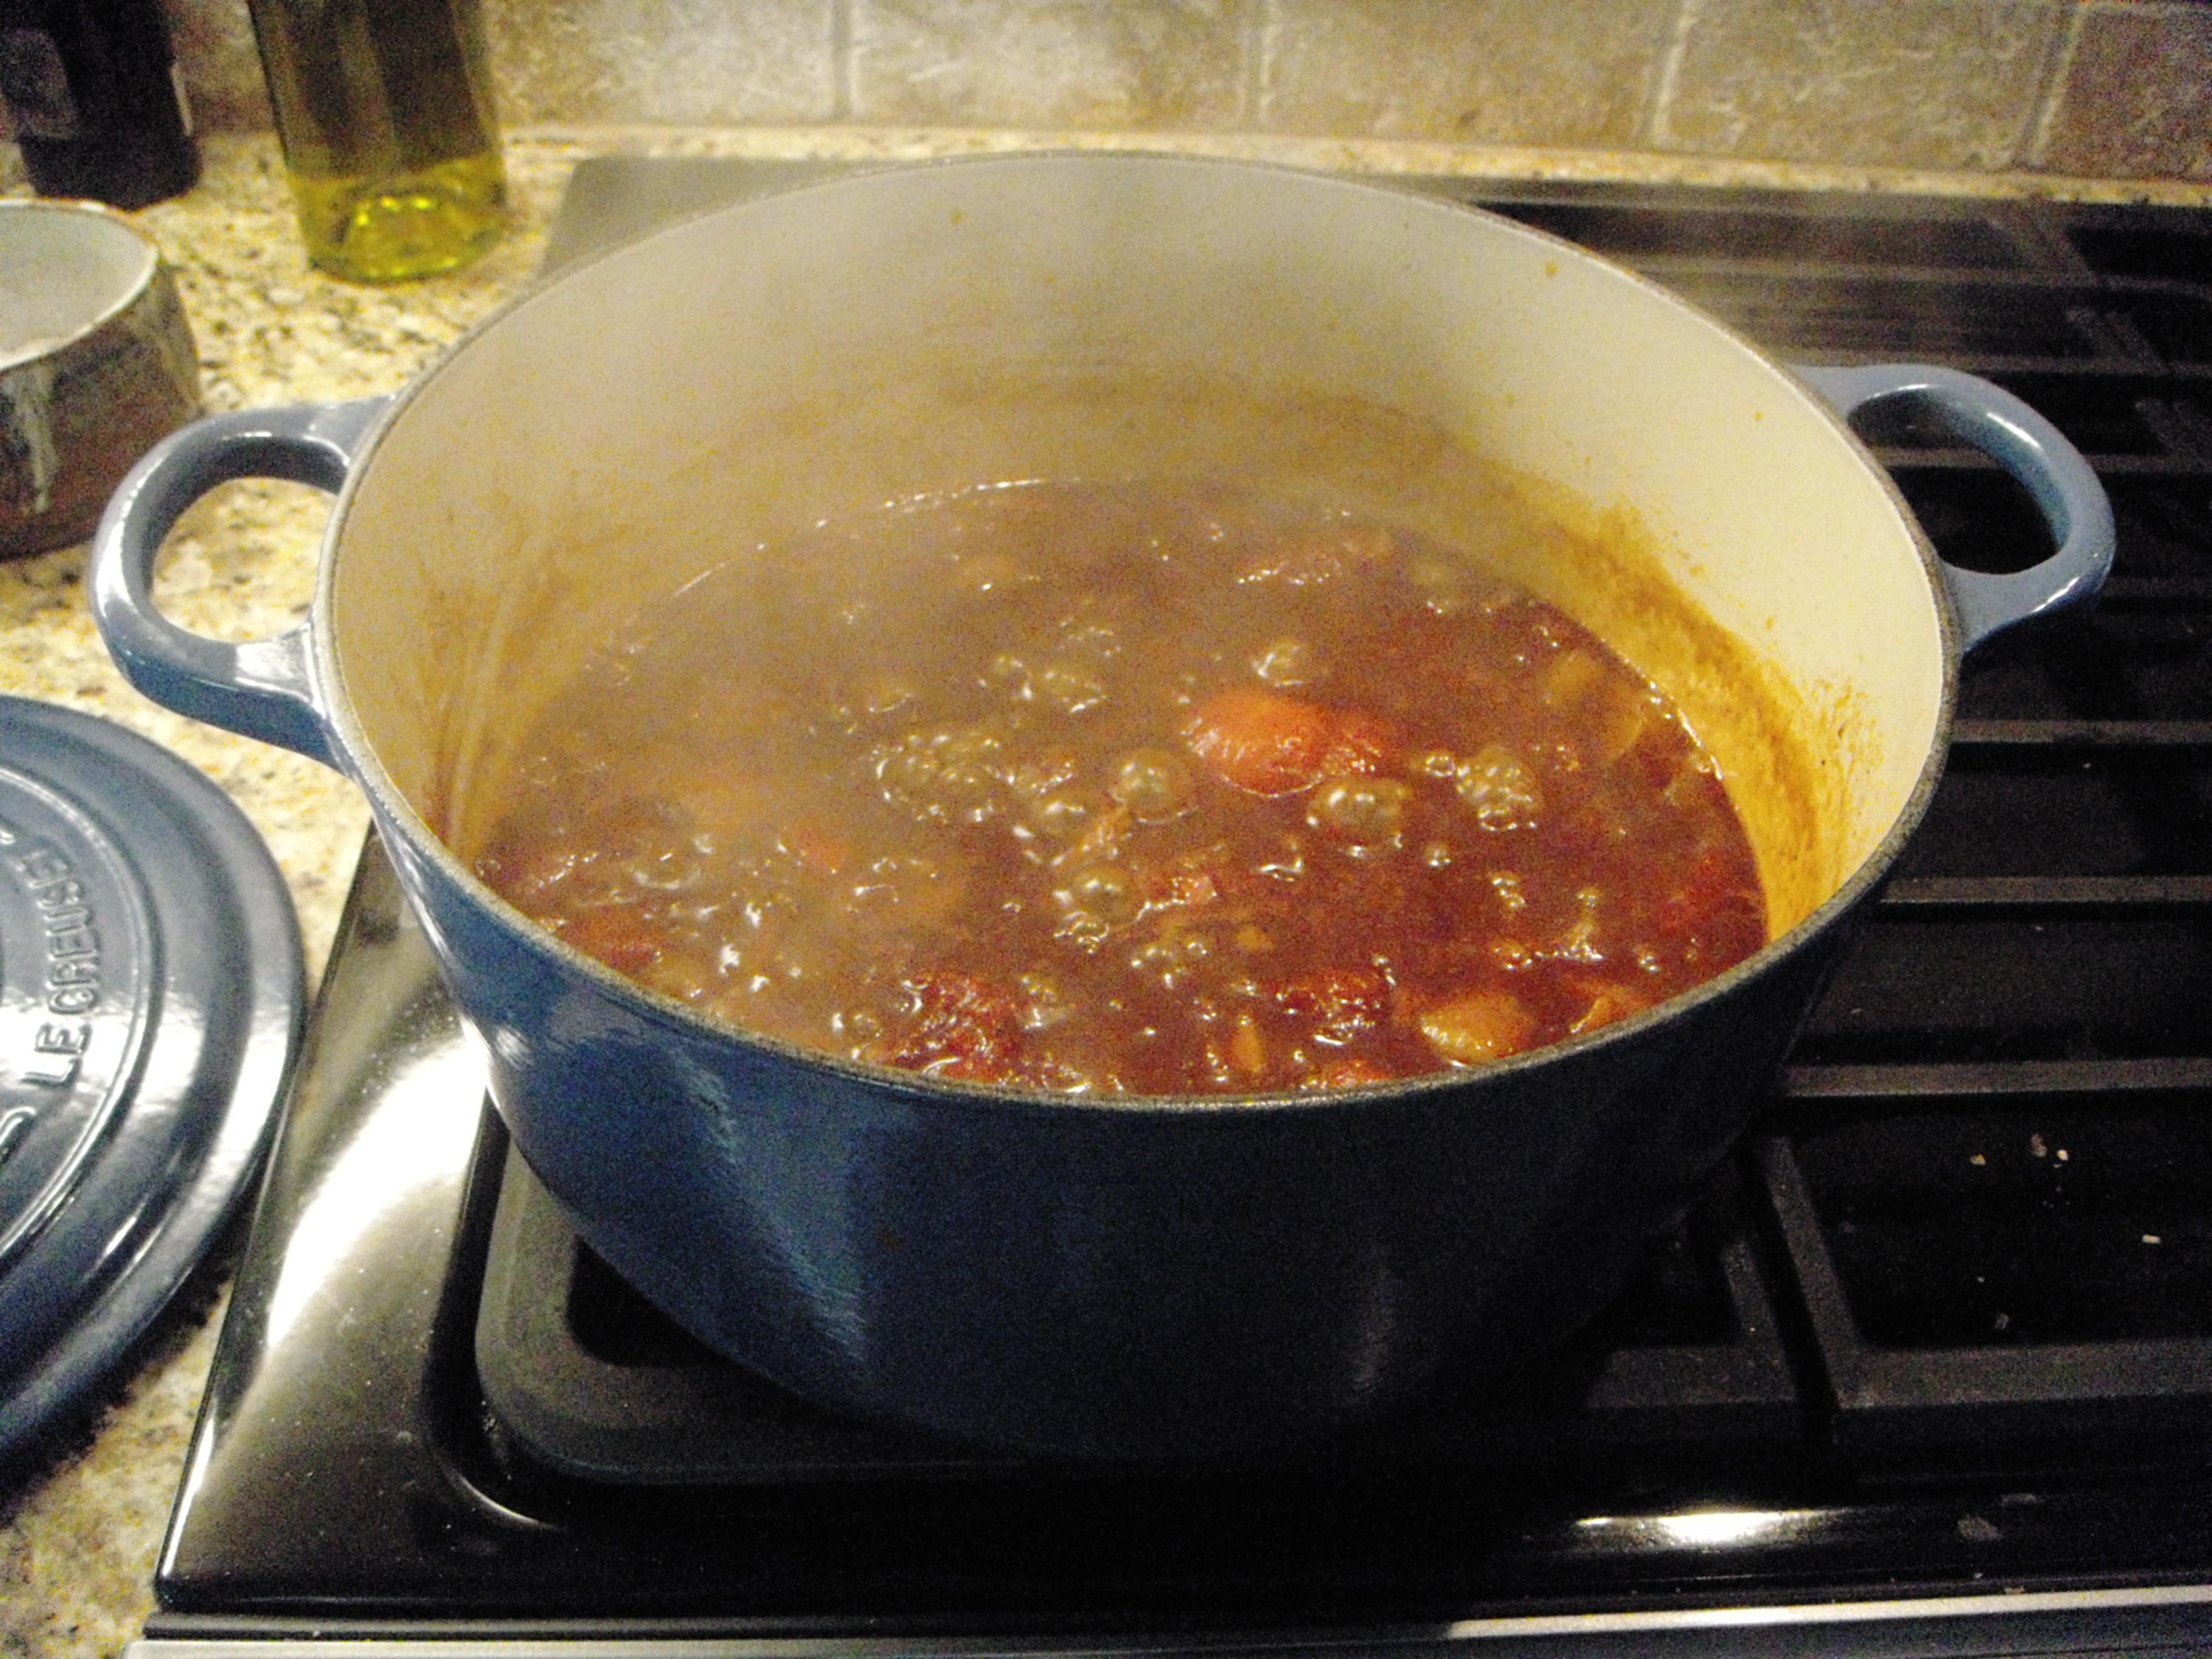
Frijoles con puerco, aka pork and beans.
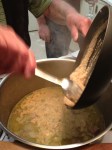
A week ago Sunday we bought a pork shoulder and made the black bean stew, a richly flavorful dish augmented by a zesty puree of tomatoes and onions that tastes very similar to Thomas Keller’s soffritto, except with a snap of habanero that lingers on the tongue. The frijol dish is simple: browned cubes of pork, garlic, onions and black beans, all stewed together. (It’s especially simple since we used canned black beans.) The magical sauce I mentioned is made by blistering a pound of Roma tomatoes and habaneros in a hot pan, then transferring them along with half a cup of white onion and a couple of cloves of garlic to the Vitamix to puree. Afterward, the puree is fried in a quarter-cup of canola oil until slightly reduced. I can’t stress it enough: This is a marvelous sauce that serves as a soffritto would, bringing beautiful flavor and a bit of heat to just about any dish.

Delicious enchiladas. A whole pan.
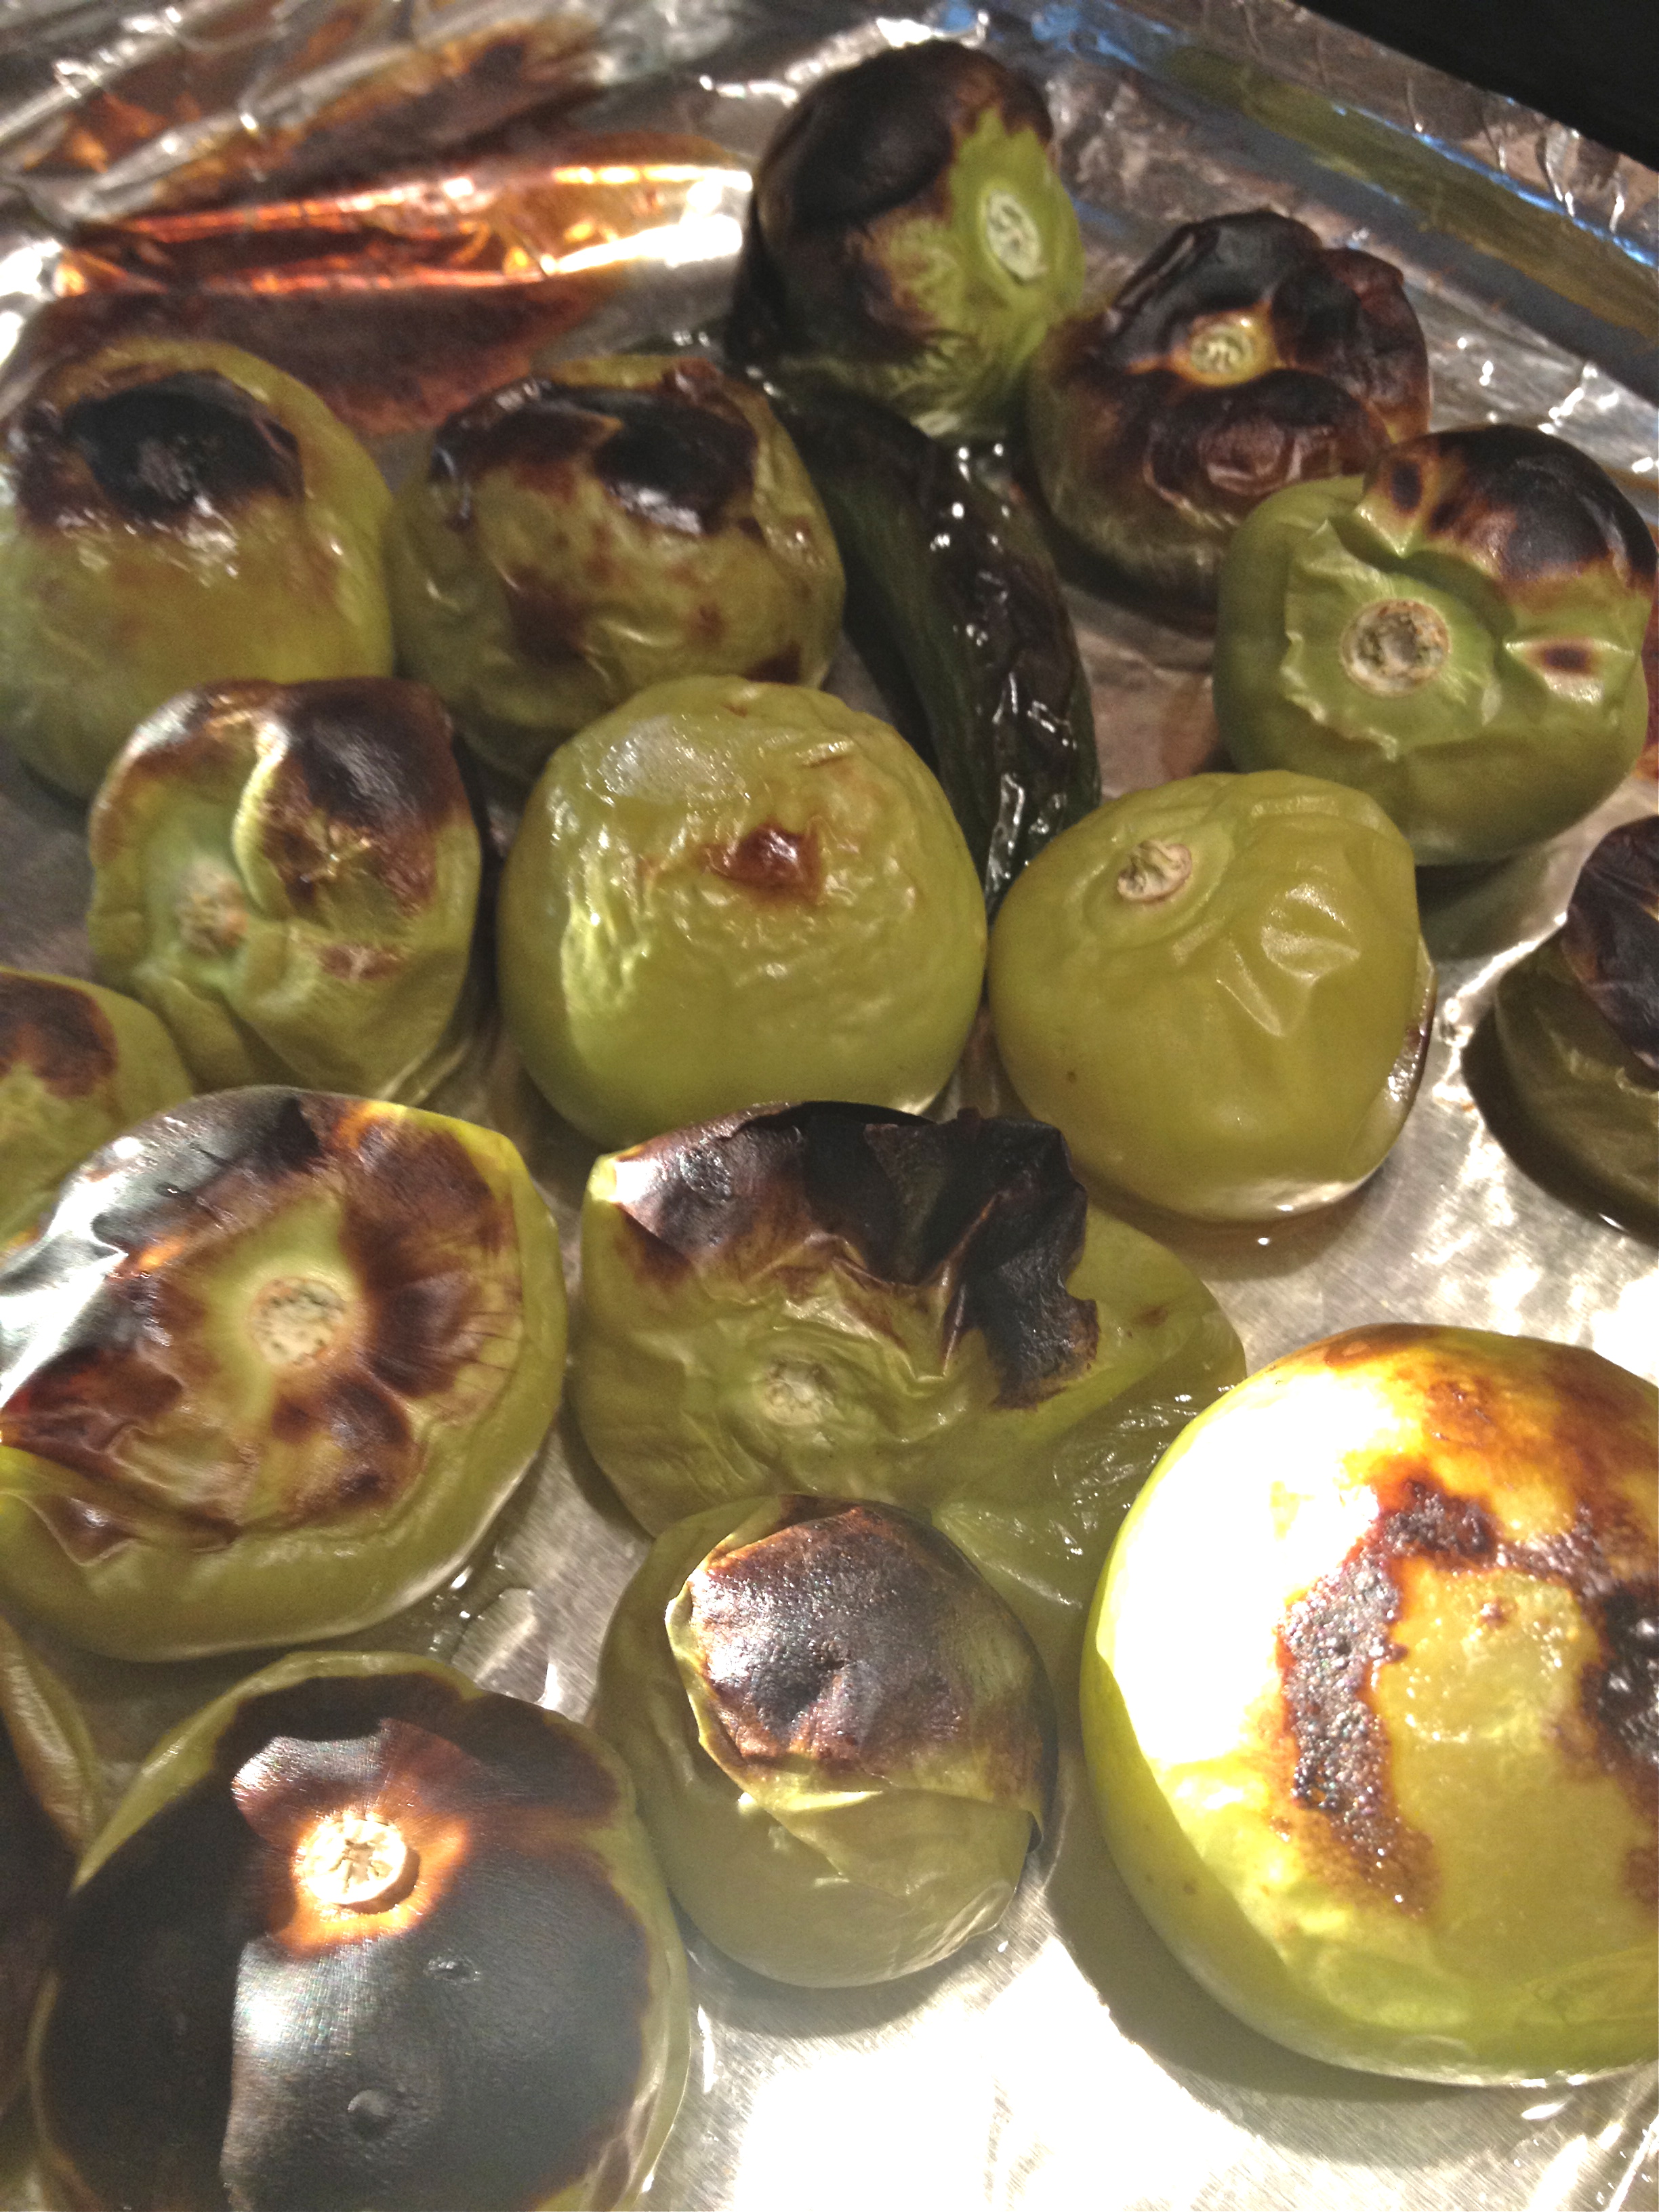
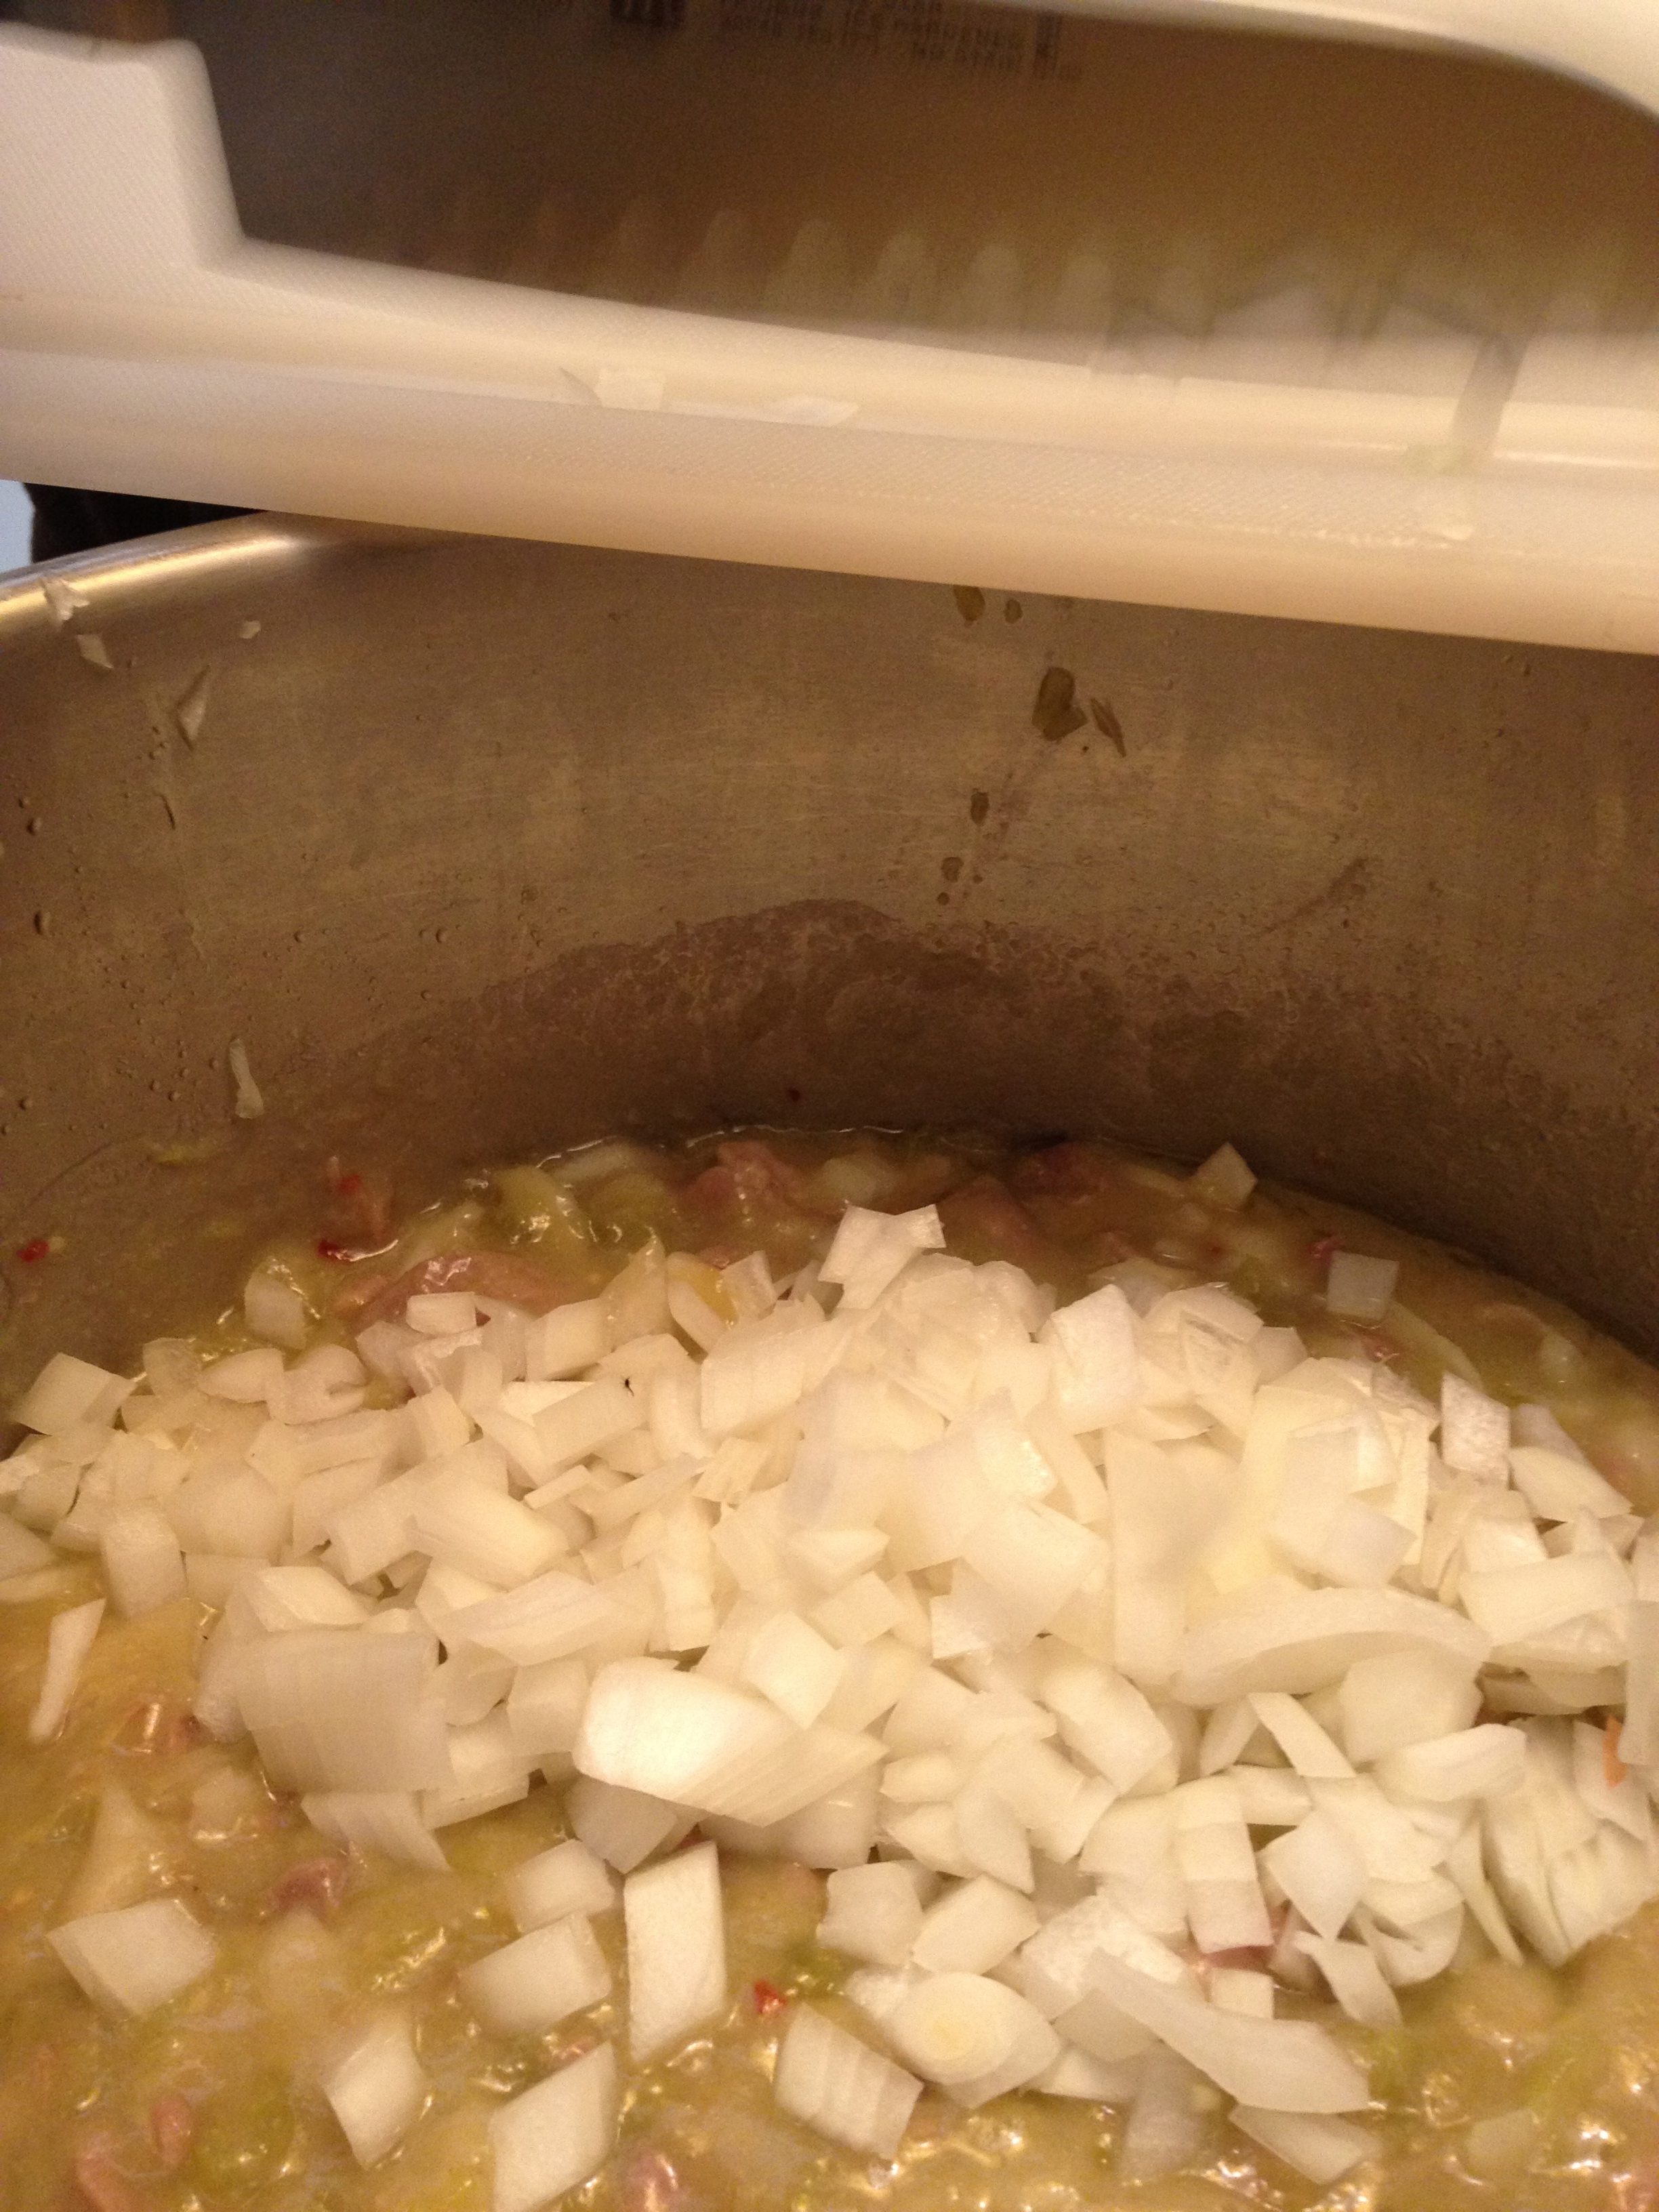
Last Sunday, tempted again by Mexico and by the fact that it’s tomatillo season, we launched into enchiladas Suizas. This too is a simple recipe once you get past the basic prep. The ingredients list calls for three cups of shredded chicken, expedited by the availability of grocery store rotisserie birds. Somewhat labor-intensive is the charring of the tomatillos (husks removed) under the broiler and then, without losing any juices, removing the thin skin to reveal the gelatinous membranes within. (Hint, do this part over the blender, ’cause that’s where they’re going.) There they are joined by two poblano and two serrano peppers (also blackened and peeled), 3/4 cup of sour cream, a cup of boiling water, garlic, cumin and cilantro, then blended until smooth. Mix a cup of the enchilada sauce with the shredded chicken and you’re ready to assemble.
The earthy bitterness of the tomatillos and peppers with that hint of cilantro make for a light-tasting, refreshing sauce, so different from red enchilada sauces prevalent in many restaurants, and definitely more intense than the mild, creamy enchiladas Suizas I’ve encountered. Once the prep work is done, this is an easy-to-assemble meal that would be ideal for make-ahead entertaining.
France, you are a flirtatious distraction for us these days, and we cannot wait for our upcoming date. But deep down, our first love is Mexico. Ahora y siempre.
-

- Summer radishes.

-

- Tomatoes and peppers for the magic sauce.
-

- Frijoles con puerco, aka pork and beans.
-

- Tomatillos under the broiler.
-

- Shredded chicken with the tomatillo sauce.

-

- Looking down into the Vitamix: the tomatillo sauce.

-
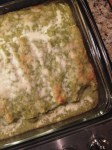
- Delicious enchiladas. A whole pan.
-

- Enchiladas Suizas with Spanish barley.

-

- J’s barley.
-

- Enchiladas Suizas with Spanish barley.

Marinated chicken and beef in the foreground, with the all-important Sriracha.
With the recent heat wave seemingly behind us, this Sunday’s dinner called for something light and easy. Jeff came across this bulgogi marinade recipe a few months ago, and it’s the third time he’s made it. Based on the popular Korean dish, this recipe comes from Mark Bittman and calls for beef. We’d done it with chicken one time and with beef another, and last night — what the hell — we did a twofer: round steak and chicken thighs.
On top of that, an afternoon trip to the farmer’s market brought an unexpected find for this time of year — baby artichokes. Unable to resist, even while knowing they had no cultural fit with our lettuce wraps, we grabbed a bag. And indeed, dinner would be a grab bag of a meal. Two very different, but very compelling components, and either would make for delicious and easy entertaining. (Just probably not on the same night.)
Bulgogi Marinade
1 bunch scallions
8 – 10 garlic cloves, peeled
1 tablespoon honey
1 tablespoon sesame oil
1/2 cup soy sauce
1/2 teaspoon black pepper
2 to 3 pounds chicken or beef.
Put all the ingredients except the meat in the Vitamix, and blend until smooth. Add water as needed (Jeff used about 1/2 a cup).
Reserve about 1/2 cup of the marinade to use as a sauce. It’s tremendous. You’ll want to put it on everything.
Pour the remaining marinade over your choice of meat and mix to coat. (Bittman slices his beef before marinating, but we feel that complicates the grilling. We cooked the meat pieces whole and sliced them later.) Marinate for up to two hours before cooking on a hot, hot grill.
Slice the meat thinly and serve with butter lettuce leaves, the reserved sauce, sambal (or Sriracha if you are out of sambal like we, sadly,

Baby artichokes with garlic and mint.
were).
And now for something completely different ..I adapted this recipe from Mario Batali’s cookbook Simple Italian Food – Recipes from My Two Villages.
Baby Artichokes With Mint and Garlic
12 baby artichokes with stems intact
6 or 7 cloves garlic, peeled and slightly crushed with the side of a knife
1/4 cup olive oil
1/2 cup dry white wine
1/4 cup mint leaves
1/4 to 1/2 teaspoon dried red chile flakes
Salt and pepper
Remove the tough outer leaves from the artichokes and shave the stems. Cut larger ones in half lengthwise and place in acidulated water.
In a large skillet, heat the olive oil and the garlic until it is just golden. Drain the artichokes and place them in the pan stirring to coat with oil and garlic. Add the red chile flakes and a splash of wine and cook for 10 to 12 minutes, adding a little more wine along the way to braise the artichokes and keep the garlic from getting too brown. Season with salt and pepper, and about halfway through, add the torn mint leaves. Serve warm as a side dish, or as we did, as a first course. This would also be delicious tossed with fresh pasta.
Namesake: Dad’s Chile Verde
February 22, 2012

Dad’s chile verde — even better the next day for breakfast.
Despite being descendents of mostly Eastern European stock, my parents introduced my sister and me to Mexican food at a fairly early age, which likely had to do with my dad’s early adult years. After leaving Wyoming, Dad lived in San Diego where he went to school. Later, when he got a job with Levi Strauss, and he and my mother bought a little bungalow in San Jose, next to a Mexican-American couple, John and Sarah Duarte. Or, as I knew them: Nina and Nino. I was born around that time, and Nina and Nino were designated my honorary godparents. Though I don’t remember living in that little bungalow, I do remember the many trips that Nina and Nino made to Salt Lake City over the years to visit us. I remember those times for the warmth and joy they brought with them, but also for the food. At an early age, I was introduced to traditional dishes like posole, nopales and menudo, none of which really appealed to my young palate. Of course with all of that also came the delicious thick homemade flour tortillas, hot off the griddle. I ate mountains of them as a kid.
When my parents moved to Utah, I can only imagine they each sought something familiar to make it feel like home. For my dad, that search seemed to be rooted in food, and he always was looking to discover the little dives for the most authentic Mexican flavors he could find.
I asked Dad about his chile verde recipe, and he told a story about working downtown and going to a cafe called La Paloma around the corner from his office on Exchange Place. He’d go in every morning around 7am to sip coffee, and talk to “Grandpa Joe” who was busy making the menu’s standards. While Grandpa Joe closely guarded his recipe for chile verde, Dad studied and made mental notes of the ingredients and proportions. In fact, this is the way my dad has always cooked, and always will. I don’t think he’s ever followed a recipe in his life: For him it’s all about interpretation, experimentation and knowing what flavors work well together.
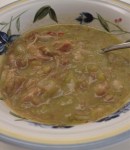
During our annual President’s Day trip to Borrego Springs, I asked Dad to make his version of chile verde, the one I remember from my childhood, the one served for so many years at La Paloma. It tastes the way I’ve always remembered it: simple enough that the flavors of the basic ingredients stand out. It’s also got a lovely glossy texture thanks to a generous helping of roux. Of course, it’s good over a bean burrito, but even better the next morning just in a bowl. And with a homemade tortilla, hot off the griddle, it’s a taste of heaven.
Dad’s (Grandpa Joe’s) Chile Verde
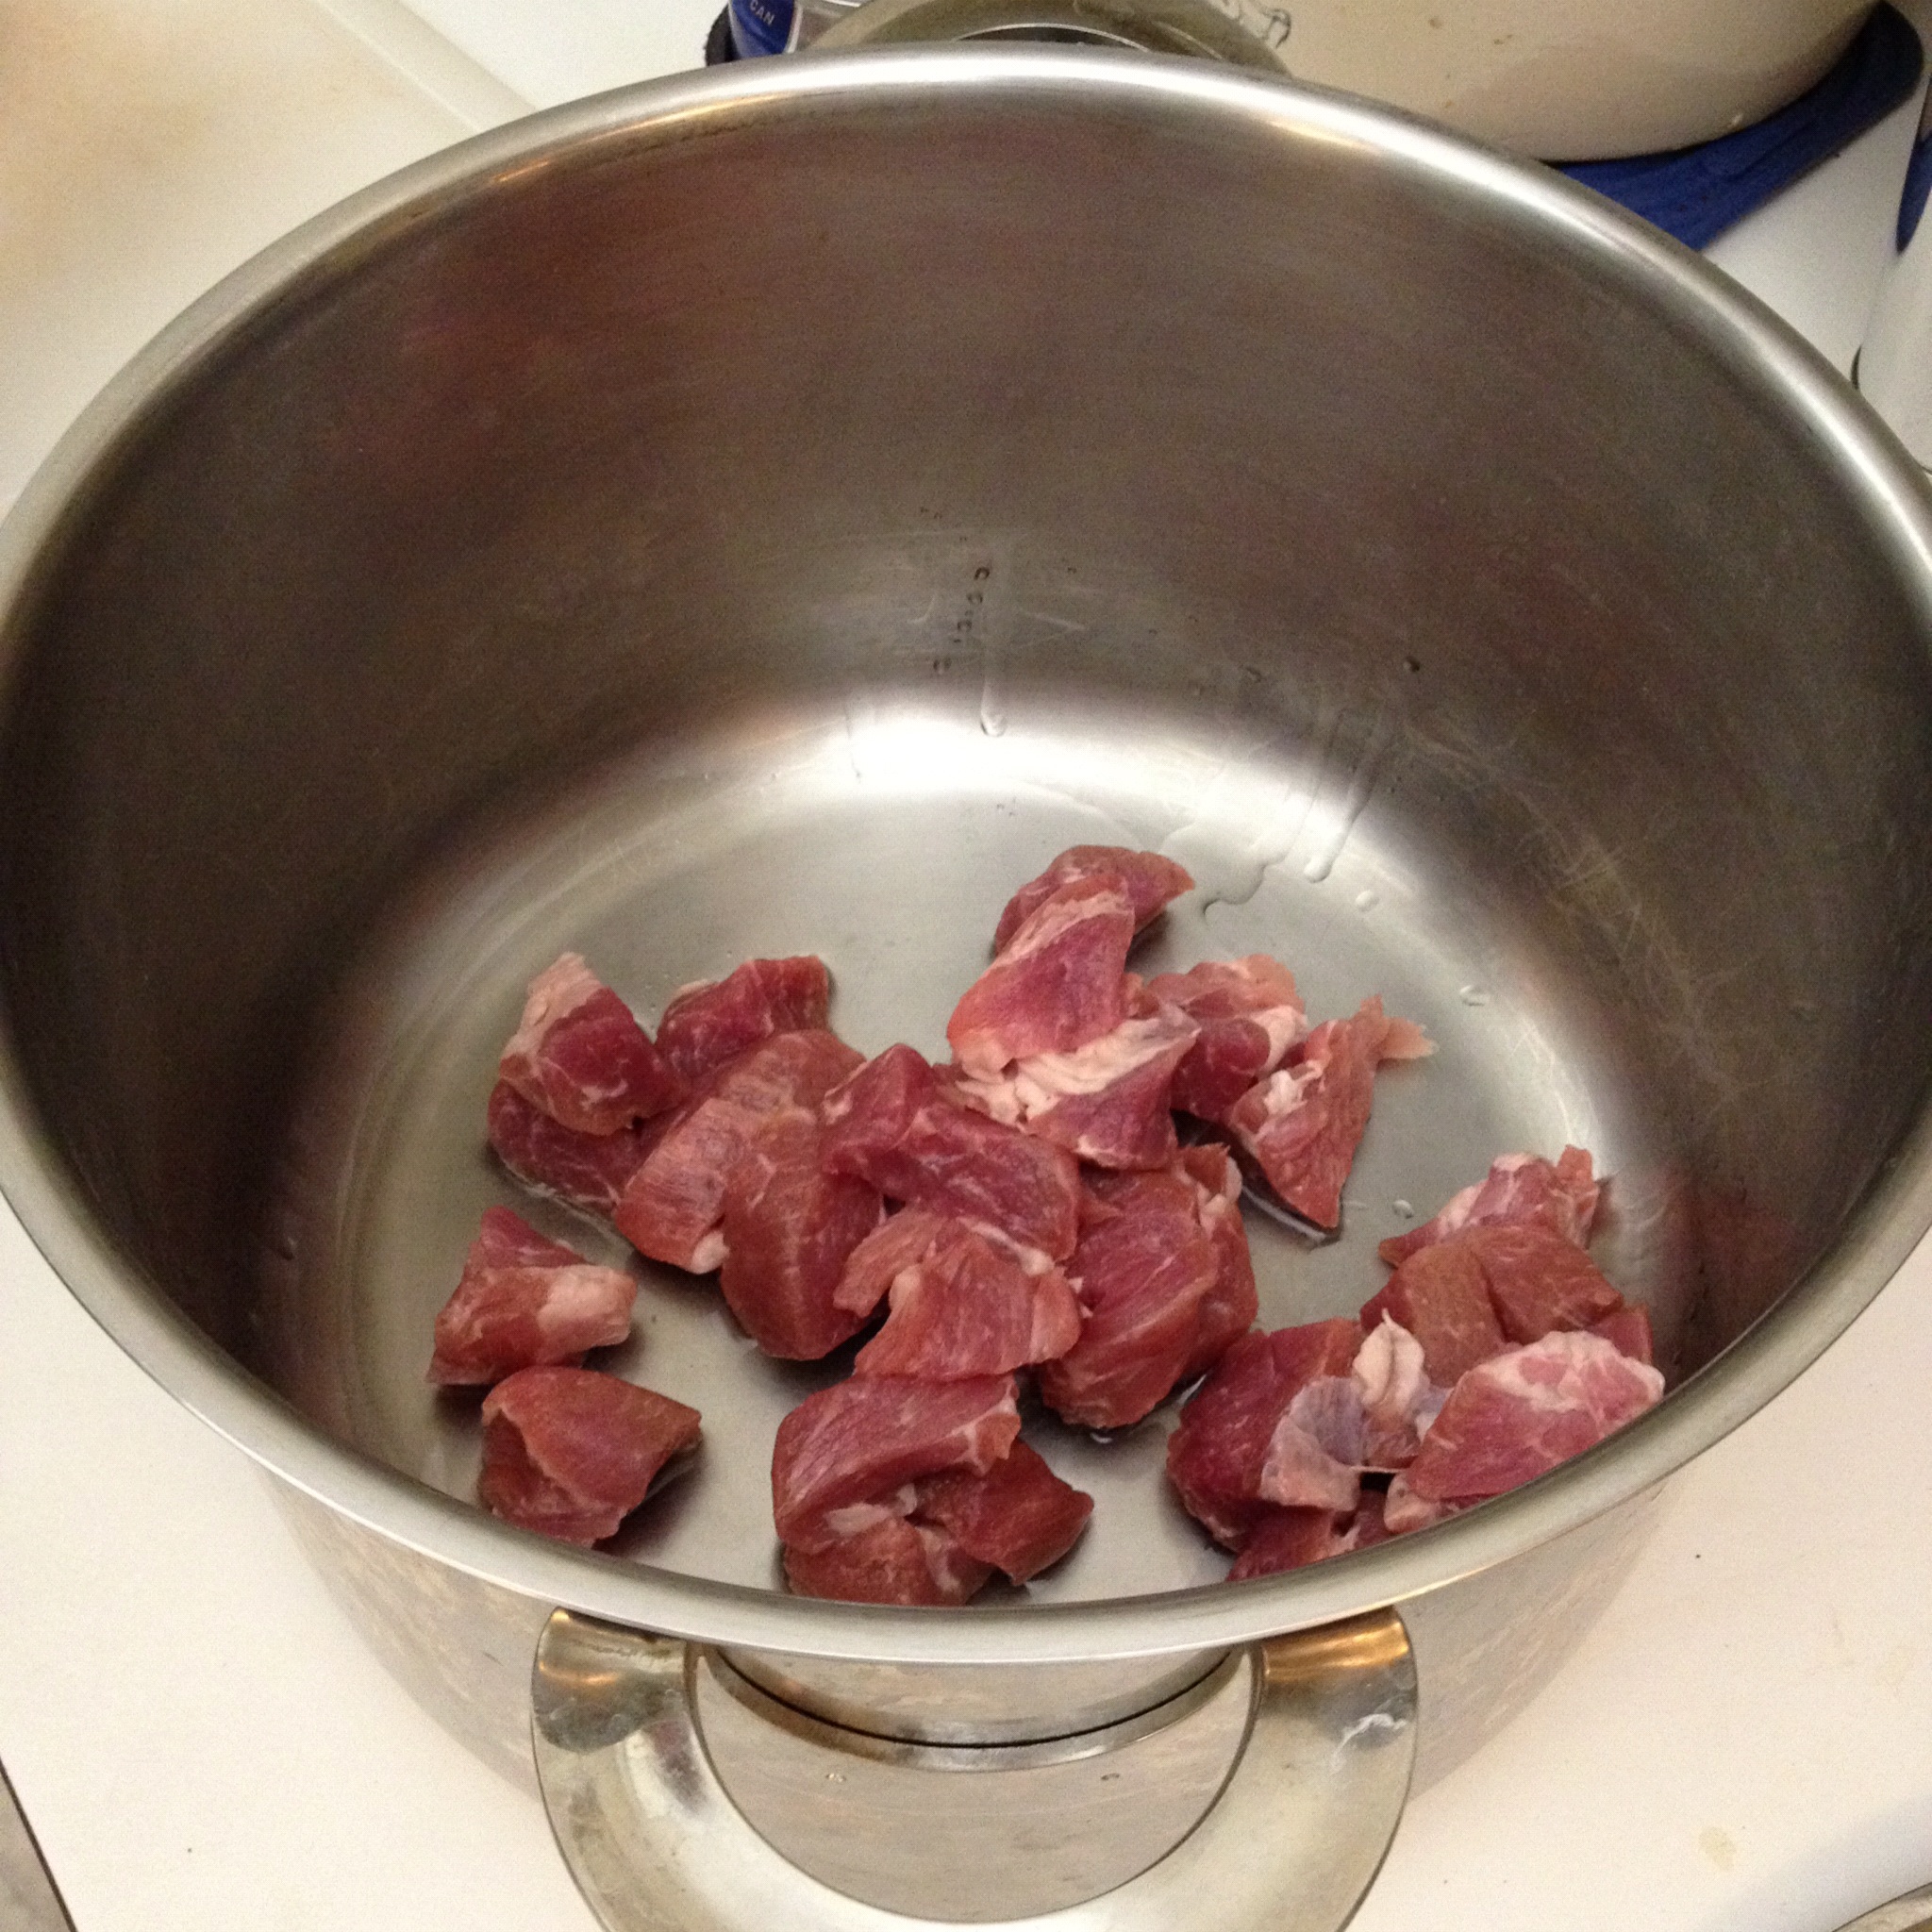
1 1/2 pounds pork butt, cut into one-inch pieces
Cooking oil (Grandpa Joe used lard)
3 cups water
4 7-ounce cans diced green chiles
Granulated garlic (If you must measure, it’s, perhaps two tablespoons or so)
1/2 teaspoon-ish chile flakes
6 tablespoons flour for roux
1/2 large onion, diced
Pour a couple tablespoons of cooking oil into a Dutch oven or braising pan, add the pork pieces and season with salt. Place the pot over a medium flame and lightly brown the pork. (Don’t go overboard with the browning. Dad says it should remain “slightly rubbery looking.” Code for not-too-well browned.) Add the water, the canned chiles and the granulated garlic. Stir to mix and cover. Let simmer for about an hour.
Put about 4 tablespoons of cooking oil, lard or butter into a heavy-bottomed skillet and heat over medium-high heat. Add the flour to the pan all at once and stir until it’s well mixed. Continue to cook over medium-high heat until the roux becomes a rich golden brown, maybe 7 minutes or so. Stir the the roux into the simmering chile verde and let it all melt together. Simmer for another 15 minutes. Add the chile flakes and the diced onion. Cook only for another 5 minutes or so. Remove from heat and serve over burritos or in a bowl with flour tortillas. (Preferably homemade.)
-

- Cubed pork goes into pot.
-

- The other main ingredient.

-

- Browning the pork, just so.
-

- Lightly browning.
-

- In go the chiles and water.
-

- The master making roux.

-

- See that nice golden color? That’s what you want.
-
- Mixing the roux with the simmered stew.

-

- A bit of onion right at the end for texture and flavor.
-
- Dad’s chile verde — even better the next day for breakfast.
Sunday Dinner: Cacio e Pepe
February 5, 2012

Fresh pasta, cheese and fresh ground pepper.
I’ve been sitting with this post for weeks now, unable to find words to adequately describe this beautiful simplicity of this dish. While I have many go-to recipes, my favorite dishes are often those with few ingredients that commingle perfectly. Cacio e pepe is one of those dishes. Fresh pasta, butter and olive oil, generous amounts of black pepper and salty Italian cheeses. Smug in my restraint, I thought: “This will be a beautifully minimalist post that shall represent the serene minimalist nature of the recipe.” How very zen.
But then I began to daydream about how this recipe may have come about. I imagined a slight Roman woman with knotted hands, children grown and in their own homes. She’s attending to the day’s housework in summer’s heat, sweeping, scrubbing, hanging laundry on the balcony to dry in the sun; and she’s cooking the night’s meal in a sweltering kitchen. I imagined that, after a long day of his own work, the tired husband returns home and sits down to his repast. They exchange tired looks and scant words about the day’s high points when he makes the fatal error:
“This needs more pepper.” “It doesn’t need more pepper.” “It does.” “It’s fine the way it is.” “I’d prefer it with more. Mamma makes it with more pep … ”
She snatches up the plate, whisking it back to the kitchen where she begrudgingly grinds a sneeze-inducing amount of pepper into the pasta, muttering: “Your mother (grind, grind, grind)… I’ll show your mother. You want (grind) more (grind) pepper (grind, grind, grind) I’ll give you more (grind, grind, grind) blasted (grind, grind) pepper.”
And thus the spicy, salty, buttery combination was born, a happy accident born out of the weariness of a long day. That’s how I imagine it, anyway.
Cacio e Pepe (Adapted from Bon Appétit)
1 pound fresh egg pasta (like spaghetti)
4 tablespoons butter
1 tablespoon olive oil
2 teaspoons freshly cracked black pepper, or more to taste (ahem)
1 cup grated Grana Padano
1/2 cup Pecorino
Bring four quarts of salted water to a boil, and cook the pasta for one to two minutes — it should be slightly underdone. Drain, reserving 1 cup of the pasta water.
In a large skillet, melt 3 tablespoons of the butter along with the olive oil. Add the pepper, swirling to incorporate. Add 2/3 cup reserved pasta water and bring to a simmer. Add the pasta and the remaining butter; using tongs coat the pasta with butter and pepper. Reduce heat and add the Grana Padano, mixing with the pasta until melted. Remove from heat and add the Pecorino, working the cheese into the pasta until it melts and the pasta is evenly coated, and al dente, adding more pasta water if it seems dry.
Serve with a medium-bodied Italian red like Langhe Nebbiolo, and toast your beloved and your good fortune at having discovered this dish. And, for the love of god, please don’t bring Mamma into it.
-

- Fresh pasta, cheese and fresh ground pepper.
-

- A lovely pile of fresh pasta.

-

- Butter, olive oil and pepper.
-

- Pasta goes in the pan.

-

- Adding the pasta water and cheese.

-

- Last bit of cheese, toss, melt and eat.

Namesake: Chicken Chile Verde
January 25, 2012

J's signature chicken chile verde.
People constantly buttonhole me: “Robyn, the name of your blog is Chile Verde Chronicles, but you don’t have a single chile verde recipe: What’s up with that?”
OK. I exaggerate. It is a fair question, but no one has asked. Well, hold onto your hats, friends …
First, a little bookkeeping: I contemplated filing this under “Tradition” as this dish pops up frequently enough in our rotation. It could also fit naturally under the header “Sunday Dinner” as that’s the standard CV feast day. At the same time, it could just as easily fit under “Refrigerator Staple” because we always seem to have a batch of leftovers. But to me this dish deserves its own header, and perhaps some day a series of posts.
Safe to say that J’s chicken chile verde has evolved dramatically over the years. In one of the first versions, back in our early dating days, he used canned jalapeños instead of milder green chiles. The result was fuego — liquid fire — which he declared “practically inedible.” Coming from him, that’s saying something.
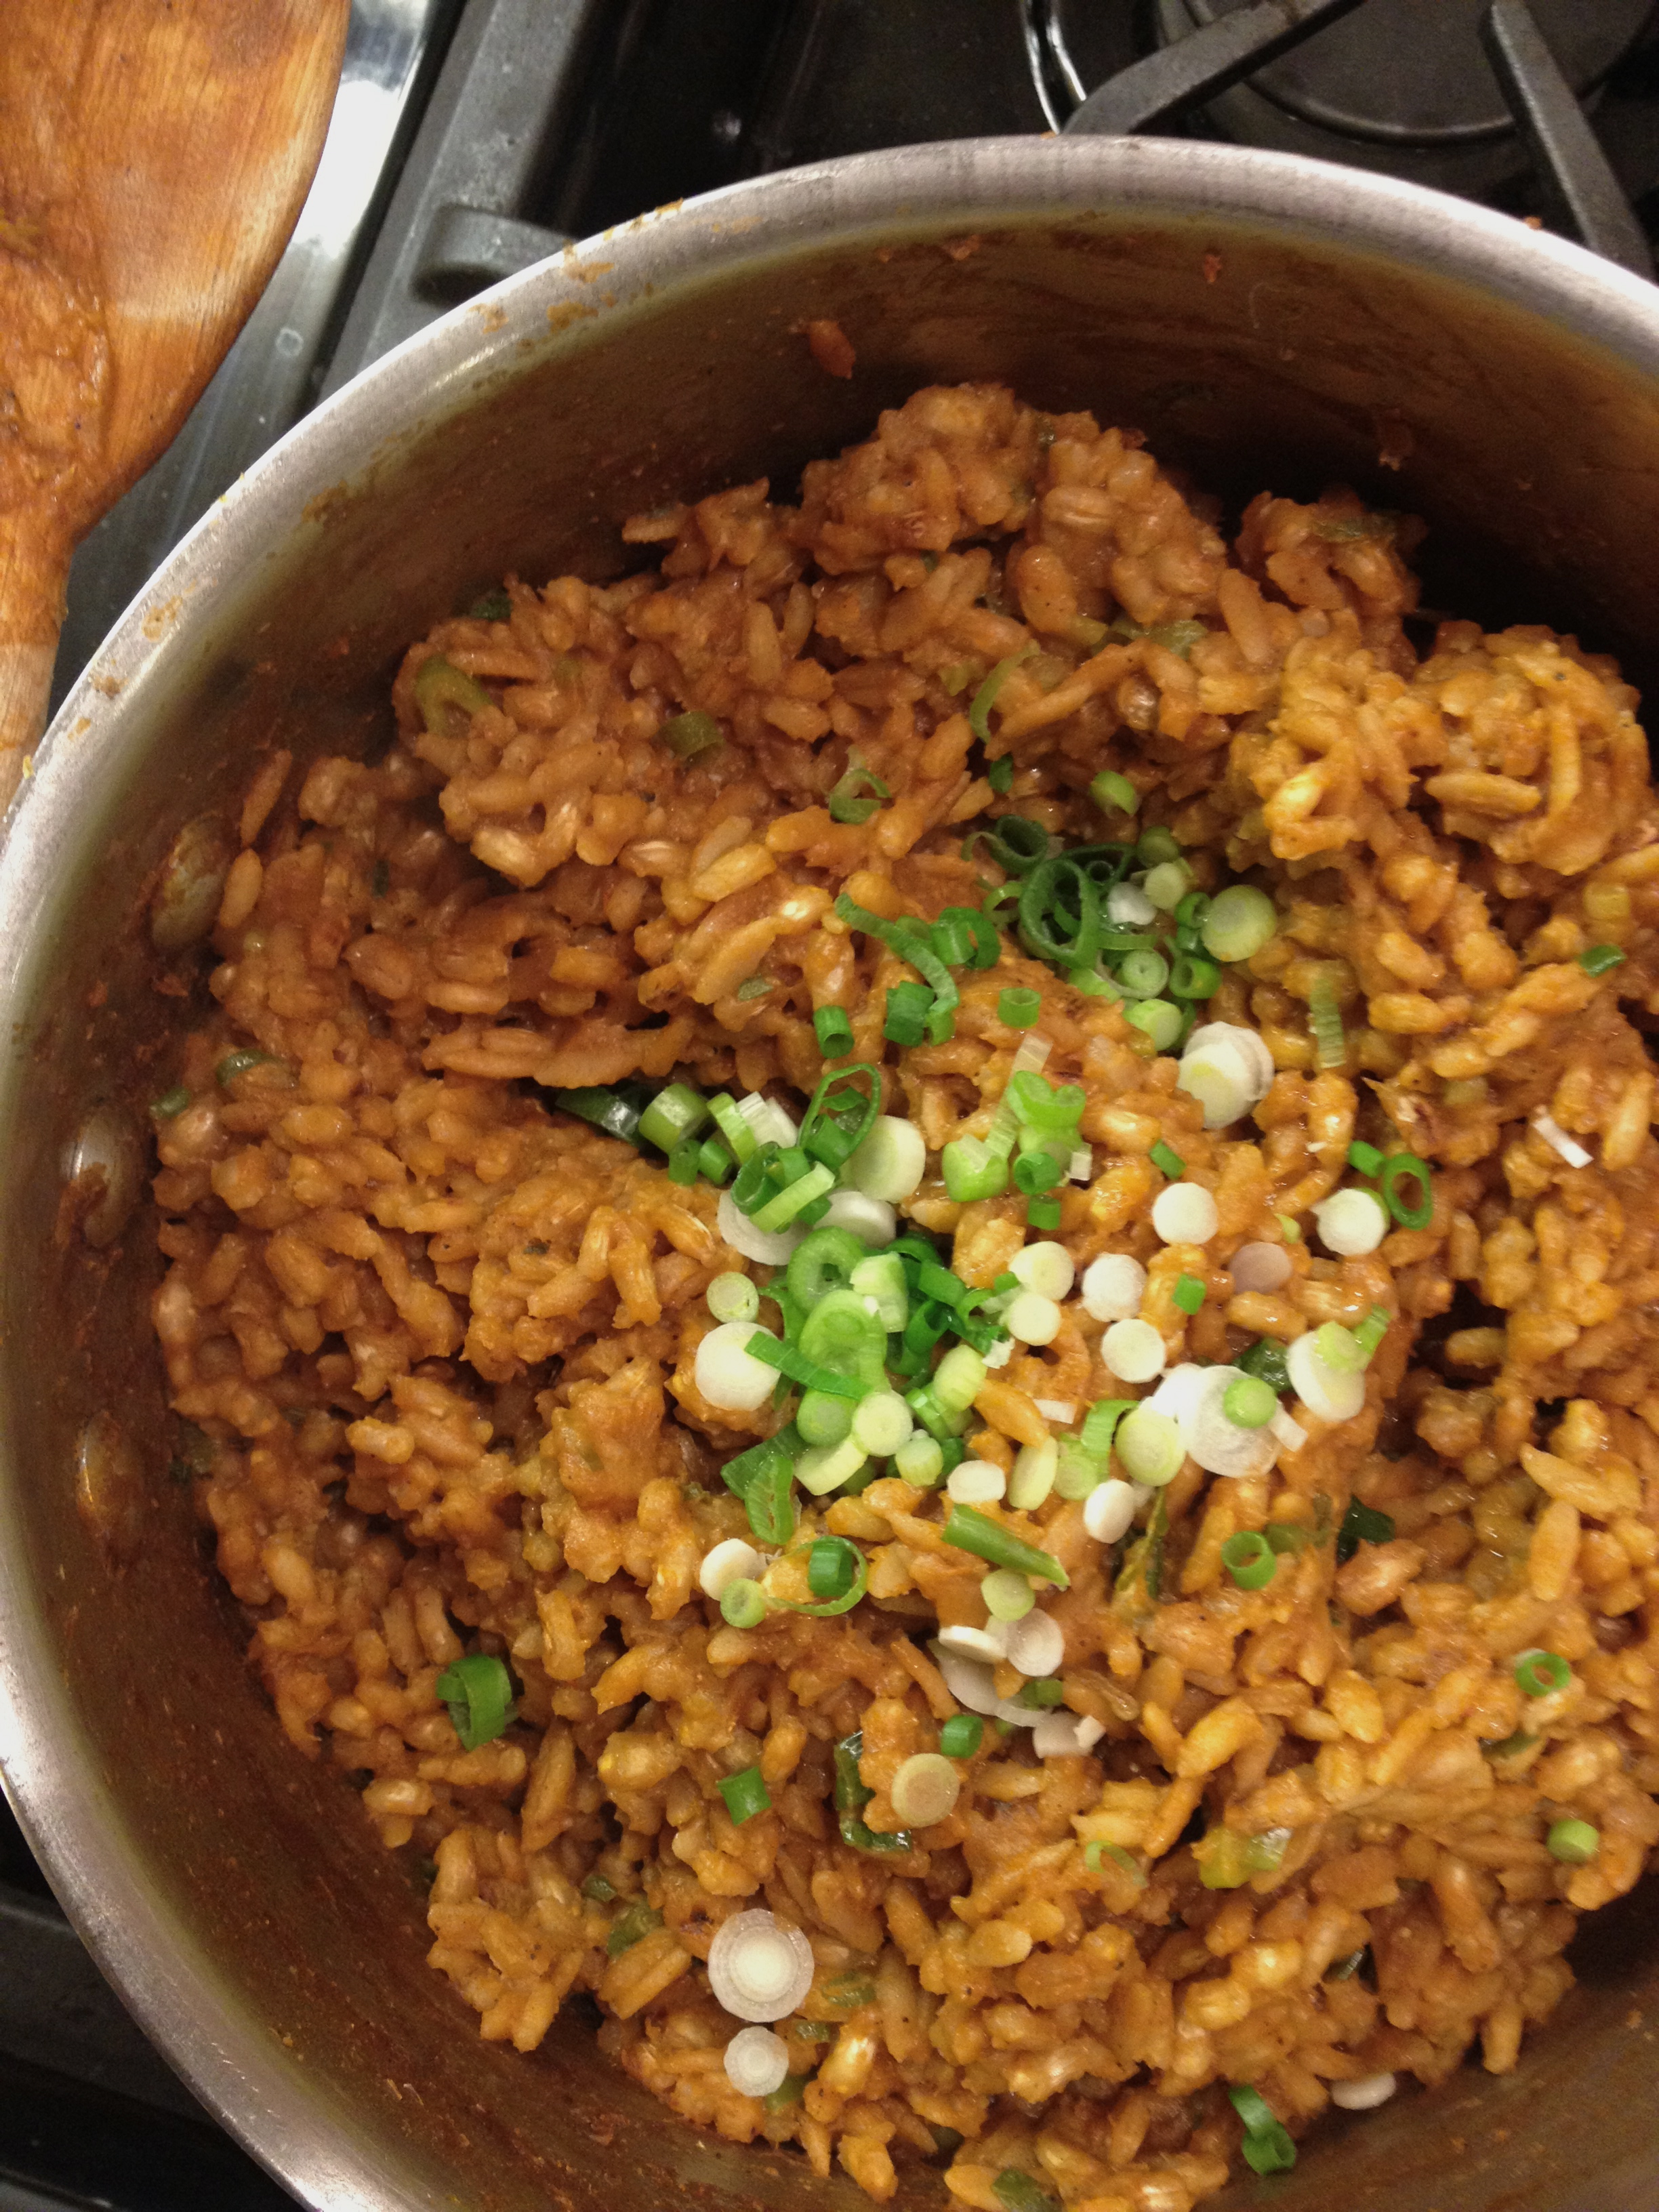
Today the basic ingredients remain the same (chicken thighs, lots of veggies and chicken broth), but there’s always a tweak here and there. One batch he’ll use roux as a thickener, the next it’s barley. (Can you imagine?) At times, he’s rubbed and grilled the chicken first, finishing it in the stew, and other times he’s poached the chicken to make the broth base. Every time he makes it, it’s slightly different, and a little better.
So, without further ado, I give you his latest version which involved rub-seasoning and grilling the chicken:
J’s Chicken Chile Verde
1 pound boneless, skinless chicken thighs
1 teaspoon smoked paprika
1 teaspoon granulated garlic
1 teaspoon chipotle chile powder
2 strips bacon cut into 1 inch pieces
1/2 cup chopped carrots
1/2 cup chopped celery
1 large jalapeño (or more to taste), chopped
3 7-ounce cans whole green chiles, 1 can chopped, 2 cans diced (will be divided)
1 green bell pepper, diced (will be divided)
3 small onions, diced (will be divided)
6 cloves garlic, chopped
8 cups low-sodium chicken broth
1/2 chicken bullion cube
1 tablespoon tomato paste
1 teaspoon cumin seeds (less or more to taste)
8 to 10 black peppercorns
1/3 cup barley, rinsed
Pinch of chile flakes
Salt and fresh-ground pepper
Fresh lemon or lime.
For the rub: In a plastic storage bag, combine the paprika, granulated garlic, chipotle powder, salt and pepper, and shake to mix. Add the chicken, give it a little rubdown, and refrigerate for at least one hour while you start the stew.
In a large Dutch oven over medium heat, crisp the bacon, rendering the fat. Add the carrots, celery, 2/3 of the diced onion, 1/2 of the diced bell pepper and cook in until soft, about 15 minutes. Add the garlic and cook another 2 minutes. Add the tomato paste, barley, cumin seeds and peppercorns and stir to mix with the vegetables. Add 1 can of chopped green chiles and half the jalapeño. Stir. Add the broth and the bullion and simmer, covered, for 1 hour to 90 minutes, stirring occasionally.
After simmering, blend the mixture until smooth, not grainy, using an immersion blender (this could take a few minutes — you don’t want whole peppercorns). Add the remaining onion, bell pepper, jalapeño and diced canned chiles and continue to simmer while you grill the chicken, making sure to mark it well. When done grilling, let the chicken rest for a few minutes, then dice.
Add the chicken to the chile verde and stir. Simmer for another 10 minutes. Season to taste with chile flakes, salt and pepper. If you feel so inclined, add a squeeze of lemon or lime, to taste, for a bit of acid.
That’s it. The barley adds a rich nuttiness, the grilled chicken a smoky undertone and the peppercorns, well, a nice pepper flavor. Serve with warm tortillas, beans, shredded or melted cheddar, crumbled Mexican cheese, shredded lettuce, minced onion, habañero salsa, cilantro — whatever combination floats your boat. Hell, it’s good in a bowl eaten with a spoon. It’s better the next day, and the next.
Phone us on a Sunday night and chances are we’re drinking wine and cooking up a big batch of chile verde. Pretty nice tradition, I say.
-

- J’s signature chicken chile verde.
-

- All the veggies in the broth, simmering away.

-

- Our beloved immersion blender.

-

- Grilled chicken thighs.
-

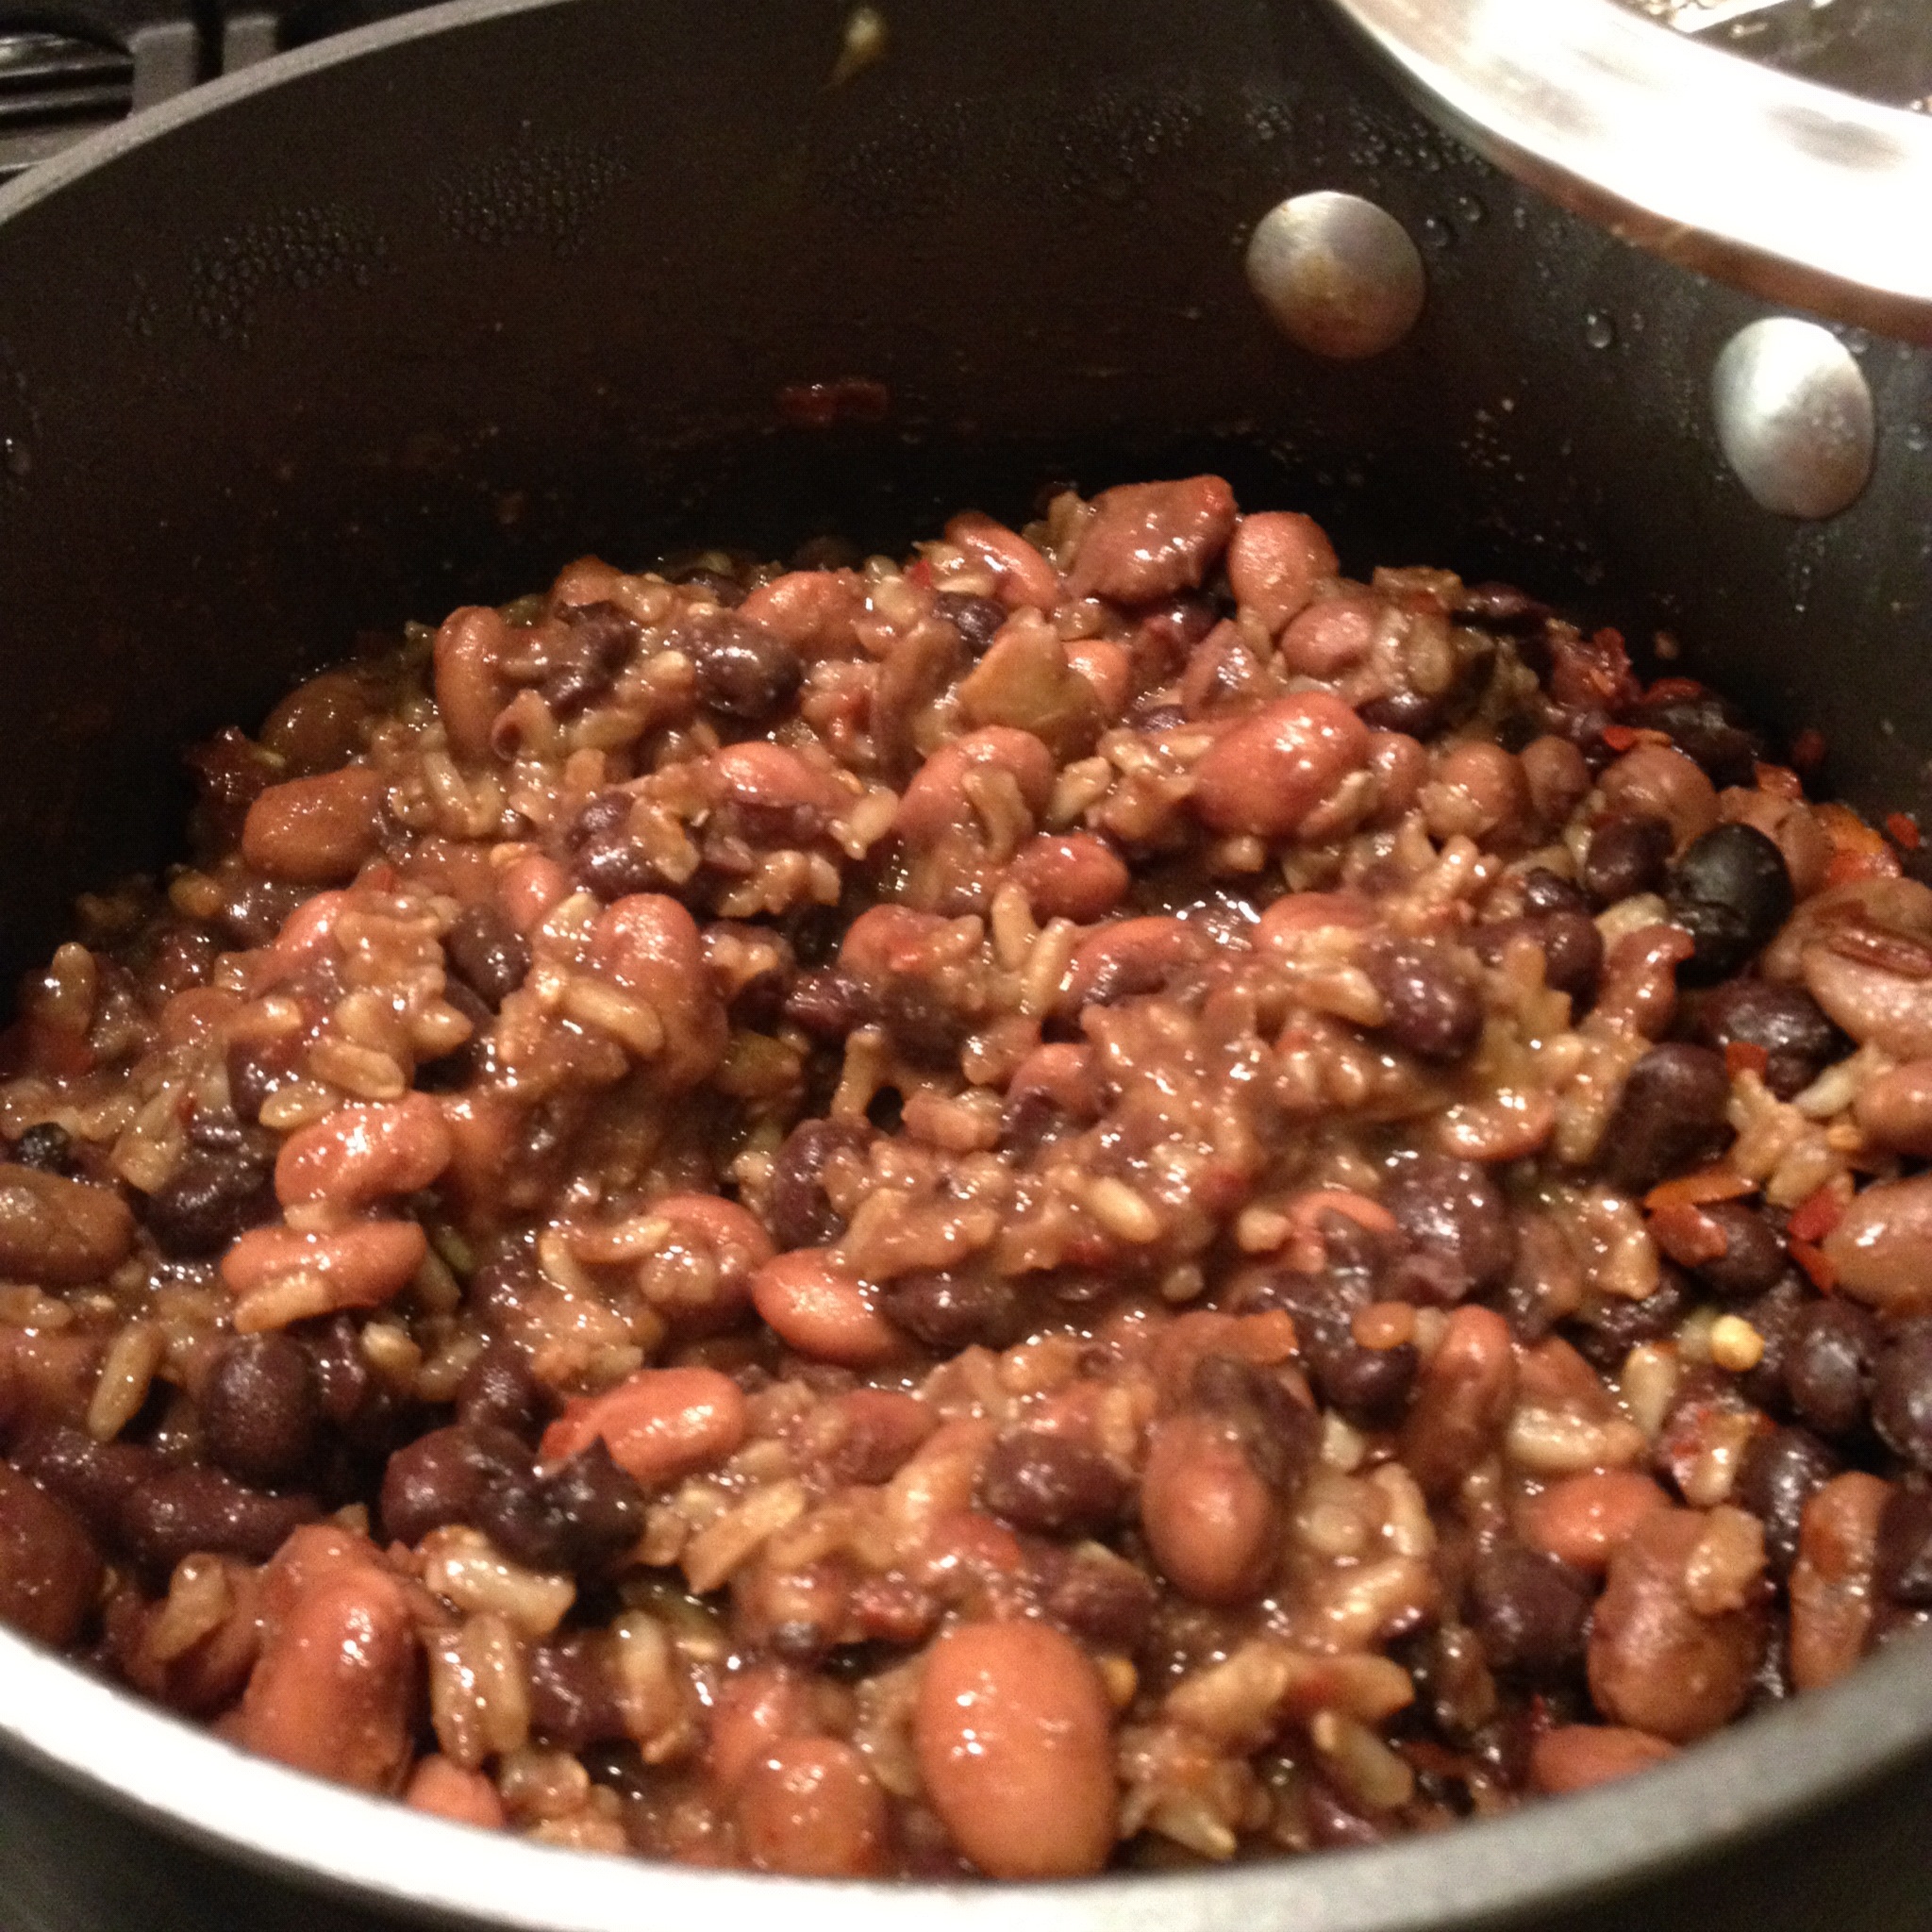
- J’s black bean, pinto bean and barley filling.
-
- The master at work, stirring the finished verde.

-

- A few suggested toppings, for your consideration.


Fagioli alla Fiorentina
Speaking of traditions …
This year, New Year’s Day fell on a Sunday, which means our most recent pork-centric Sunday dinner took on a familiar, annual theme. Why I started making this Italian pork-and-beans dish to celebrate the new year, I do not remember. I think at one point I may have claimed New Year’s Eve or Day as my holiday to spend in the kitchen preparing a fabulous dinner. At some point, I also may have claimed — hoping on some level — that I simply must be part Italian, though none of my ancestors were from anywhere near the Mediterranean. I do remember making fagioli for the first time on a cold a New Year’s Eve in Salt Lake City, and I’ve made it many years since, in Chicago, in Venice and now in Portland. My recipe combines two versions I found in Saveur magazine (November 2000), and while the ingredients are few and simple, the aroma from the oven is comforting, warming, homey.
Why we have not made this for any other occasion is beyond me; it’s the essence of a one-pot meal, and incredibly easy to prepare. In the past, I’ve used only sausage as the accompanying meat, but this year we decided to braise pork shoulder with the beans. Next time we make it, I’d love to play with the ingredients and perhaps substitute pork with lamb, and sage with thyme or rosemary.
Fagioli alla Fiorentina
1 pound dried cannellini beans (or any dried white beans)
5 ounces prosciutto cut into wide strips
Generous drizzle (1/4 cup) fruity olive oil
4 to 5 canned plum tomatoes, quartered
4 cloves garlic, peeled and crushed
2 spicy Italian sausages
1 pork shoulder (about 2 pounds)
Sprig of fresh sage
Salt and freshly ground black pepper
Put the beans in an earthenware pot or a dutch oven, and cover with cold water. Set aside and let soak overnight or at least 4 hours. Drain and add cold water to just cover the beans.
Preheat the oven to 375 degrees.
In a skillet drizzled with olive oil, lightly brown the sausages. Remove and set aside. Salt and pepper the pork shoulder, then using the same pan, brown it on all sides. Remove and set aside.
Add the prosciutto, tomatoes, garlic and sage to the beans, and season to taste with the salt and pepper. Drizzle with olive oil. Place the pork shoulder in the center of the beans, gently working it into the liquid until it’s partially submerged. Place the sausages atop the beans as well.
Cover and bake until the beans have absorbed all the liquid and are tender, about two hours. A meat thermometer placed in the center of the pork should register 160 degrees. Remove the pork shoulder and the sausages and cut into slices. Serve beans and pork in bowls or deep plates with perhaps a good crusty bread to sop up any juices.
Favoloso, no?
Tradition: Christmas Pudding
December 26, 2011

Steamed pudding in its mold.
I cringe a little bit when I hear myself say, “I’d like to start a new tradition,” well aware that an act doesn’t become tradition until it is repeated so many times it is unnatural not to do it. My Grandma Dorothy upheld her family’s special-occasion tradition of serving czernina, the Borusheski version of the Polish duck soup, using the same green plastic teacup year after year as a soup ladle. My dad has maintained his father’s tradition of making the Hungarian káposztája, stuffed cabbage leaves, every New Year’s Day. J and I have a few traditions of our own, but starting a new tradition is tricky business: Sometimes they stick, sometimes they don’t. And there are few things lamer than hearing yourself say, “What ever happened to that tradition?”
Last year I did start what I hope will become a long-standing tradition: Christmas pudding. The recipe I use comes from Nigella Lawson’s book Feast. I first tasted “figgy pudding” when a former co-worker brought one to a holiday potluck, and immediately I knew I must try this recipe. Sweet, but not too much so. Dense, sticky and rich with layers of flavor. Is that chocolate? Is it a cake? Is it a fruitcake? And that dollop of rum butter? Oh man.

My copy of "Feast." I wrote that this will be a yearly tradition, so it must be so.
So the weekend after Thanksgiving, I make the puddings. I follow Nigella’s recipe faithfully, though it could be easily tinkered with. And because I don’t have a traditional pudding-steaming vessel I divide mine into four or five smaller glass containers with covers. The smaller portions make easy gifting and are easily stackable in the refrigerator. I skip the addition of the coins and tokens, which signify good luck, mostly because of laziness. Instead I send our good wishes along to everyone who enjoys the dish.
Nigella Lawson’s Nonconformist Christmas Pudding
2 cups dried mission figs
1 cup dried blueberries
1 1/2 cups currants (or dried cranberries, in a pinch)
3/4 cup Kahlua
1 1/2 sticks unsalted butter
1 cup ground almonds
2 cups breadcrumbs
1/2 cup cocoa
2/3 cup all-purpose flour
1 teaspoon baking powder
1/2 teaspoon baking soda
1 cup packed brown sugar
2 apples
3 large eggs
1/2 cup sour cream
1 tablespoon pure vanilla extract
1/2 tablespoon pie spice
1/2 teaspoon ground nutmeg
1 teaspoon ground cinnamon
1/4 teaspoon ground cardamom
1/2 cup vodka
Generously butter the steaming vessel(s) and lids.
Grind the figs in a food processor and put them in a saucepan with the blueberries, currants and Kahlua. Bring to a boil and let simmer for 10 minutes. Cut the butter on top of the simmering fruit and put the lid on, leaving it to simmer and melt for another 10 minutes.
Put the breadcrumbs, ground almonds, cocoa, flour, baking powder, baking soda and brown sugar into a large bowl.
Peel, quarter and core the apples and, as Nigella says, “bung” them in the still-figgy food processor until finely chopped. Add them to the bowl of dry ingredients along with the buttery dried fruit mixture. In the same unwashed food processor, break the eggs and add the sour cream, vanilla and spices. Process to mix and pour into the pudding, scraping the sides to get all the leftover bits. Mix well with a spoon, and pour into the prepared steaming vessels. If you’re using covered glass containers as I do, be sure not to overfill, as the pudding expands as it steams.
Now for the steaming: Because I make several smaller puddings, I arrange mine in a large canning pot, resting them on the rack. Cover and steam for four hours, checking the water level periodically. After four hours, turn off the heat and allow them to cool in the pan. Transfer the puddings to the refrigerator. (Some people allow them sit on the kitchen counter.) The more time you allow them to mature the better, which is why these are traditionally prepared toward the end of November. (That lazy Thanksgiving weekend, therefore, is the perfect time.)
The day you want to eat the pudding, steam it for another 1 1/2 to four hours — the longer it steams, the richer it will be. (A friend of mine steamed hers in a crock pot — a great tip.) Unmold the pudding by inverting it onto a plate, and stick a sprig of holly on top. In a saucepan, warm the vodka and strike a match to light it and pour over the pudding. “Then,” Nigella writes, “in absolute discordance with all possible health and safety initiatives, bearing it aloft make a dash for the dining table so everyone can see this fabulous, flickering spectacle.”
Makes me smile every time I read it.
Serve with rum butter.
Rum Butter
1 1/2 cups confectioners sugar
1 stick unsalted butter, softened
1/2 cup ground almonds
1/2 teaspoon vanilla extract (my addition to the recipe. Optional)
3-plus tablespoons good-quality rum (to taste)
Put the sugar in the food processor and process to remove any lumps. Add the softened butter and cream it with the sugar. Scrape down the sides, add the ground almonds and process again. With the motor running, add the vanilla and the rum to taste. Taste as you go along. I prefer more rum in my butter, but some might find my preference too strong for their liking.
Merry Christmas to all, and to all a good night.
Sunday Dinner: Old-Fashioned Meatloaf and Spaghetti Squash Gratin
December 11, 2011

Warm and comforting meatloaf and spaghetti squash gratin.
I can’t say meatloaf was my favorite food growing up. By my logic, if you were going through the trouble of hand-shaping ground beef, why not make meatballs (with spaghetti, duh)? And, if I remember correctly, the meatloaf of my childhood was usually accompanied by some objectionable vegetable like broccoli, adding insult to my pasta-less injury. (No disrespect to my mother’s meatloaf, of course. It just did not appeal to young palate. People change. Love you, Mom!)
A few year’s back, in the midst a dangerous, experimental mac-and-cheese stage (old habits die hard), I was perusing my cookbooks for an accompaniment to what I considered the night’s gooey, cheesy main attraction. That’s when I ran across a recipe for old-fashioned meatloaf in my golden go-to, The Gourmet Cookbook. A departure from the meatloaf Mom baked in bread loaf pans, this version was mounded free-form into an oval dome on baking sheet and slathered with ketchup. It sounded interesting enough, so we gave it a try, and a few year’s later it’s now a wintertime staple. While I have served this many times alongside a creamy pot of macaroni, it’s a star in and of itself. On a recent Sunday, though, a spaghetti-squash gratin was the side to what I consider to be a magnificent meatloaf. Pasta-less and still craveable? Whoodathunk it?
Old-Fashioned Meatloaf (Adapted from The Gourmet Cookbook)
2 cups onions, finely diced
1 rib celery, finely diced
2 carrots, finely diced
3 green onions, minced
2-3 large cloves garlic, minced
2 tablespoons olive oil
2 teaspoons salt
2 1/2 teaspoons freshly ground pepper
2 teaspoons Worcestershire sauce
2/3 cup ketchup
2 pounds lean ground chuck
1 pound ground pork
1 cup dried breadcrumbs
2 eggs beaten lightly
1/3 cup fresh Italian parsley, chopped
Preheat oven to 350 degrees F.
In a heavy skillet over medium heat, sautee the onions, celery carrots, green onions and garlic in olive oil for 10 minutes, stirring occasionally until the onions are translucent and the carrots are tender. Season with salt and black pepper. Add the Worcestershire sauce and 1/3 cup ketchup and stir, cooking for one additional minute. Remove from heat.
In a large bowl, combine the the beef, pork, eggs, breadcrumbs and parsley. Incorporate the vegetable mixture into the meat, mixing with your hands. (Don’t over-mix.) Turn the meatloaf mixture onto a shallow baking pan, forming it into a mounded oval, about 10 by 5 inches. Spread the remaining 1/3 cup ketchup on the top. Bake in the oven for 1 hour or until the internal temperature reads 155 degrees. Remove from oven and loosely cover with foil. Let the loaf rest for 10 minutes before slicing.
Spaghetti Squash and Tomato Gratin (Adapted from Cooking Light)
1 medium spaghetti squash
3 tablespoons olive oil
1 28-ounce canned whole tomatoes, drained and chopped
3 sprigs fresh oregano
3 sprigs fresh thyme
3 cloves garlic, minced
1/2 teaspoon crushed red pepper
1 15-ounce tub low-fat ricotta
1/2 cup fresh grated Parmigiano-Reggiano
2 teaspoons chopped fresh oregano
1 teaspoon chopped fresh thyme
1 teaspoon salt
Fresh ground pepper
With a small, sharp knife, pierce the surface of the squash about 1-inch deep to prevent it from bursting. Put the whole squash in a microwave and cook on the highest setting for 6 to 7 minutes. Using oven mitts, turn the squash over and cook for an additional 8 to 10 minutes, until it feels slightly soft when pressed. Remove the squash from the microwave, and allow it to cool. Cut the squash in half lengthwise, and remove and discard the seeds from the middle. Run the tines of a fork through the flesh creating long spaghetti-like strands. (Should yield about four cups.) Set aside. (This step can be done ahead.)
Preheat oven to 400 degrees.
In a heavy saucepan, heat the olive oil over medium heat and add the garlic. Cook stirring for 1 minute. Add the tomatoes, crushed red pepper, oregano sprigs and thyme sprigs. Add salt and pepper to taste, and simmer for 20 minutes until thickened. Remove and discard the woody stems of the oregano and thyme. Set aside.
In a bowl, combine the ricotta and the Parmigiano-Reggiano. Add the chopped oregano and thyme and season with salt and pepper.
In a 9 by 13 casserole, make a base layer of spaghetti squash. Follow with a layer of tomatoes, spreading evenly over the squash. Top it off with the cheese mixture. Bake at 400 degrees for 50 minutes, or until lightly browned on top.
(Alternatively, you can layer the squash, tomatoes and cheese in eight 8-ounce ramekins as called for in the the original recipe.)
-

- Comforting meatloaf and spaghetti squash gratin.
-
- The adding of the ketchup.
-

- Mixologist at work.
-

- Ground goodness awaits.
-
- Fresh Italian Parsley.
-

- Parsley, breadcrumbs, eggs. Mixing commences.
-

- In goes the veg.
-
- Hand mixing.
-
- The shaping of the loaf.
-

- Loaf with the secret ingredient: ketchup.
-

- A thing of beauty.
-

- A little mouse?
-

- Hoping beyond hope: Perhaps something will fall.
-

- Warm and comforting meatloaf and spaghetti squash gratin.
Food Memory: Slow-roasted Tomatoes
October 8, 2011

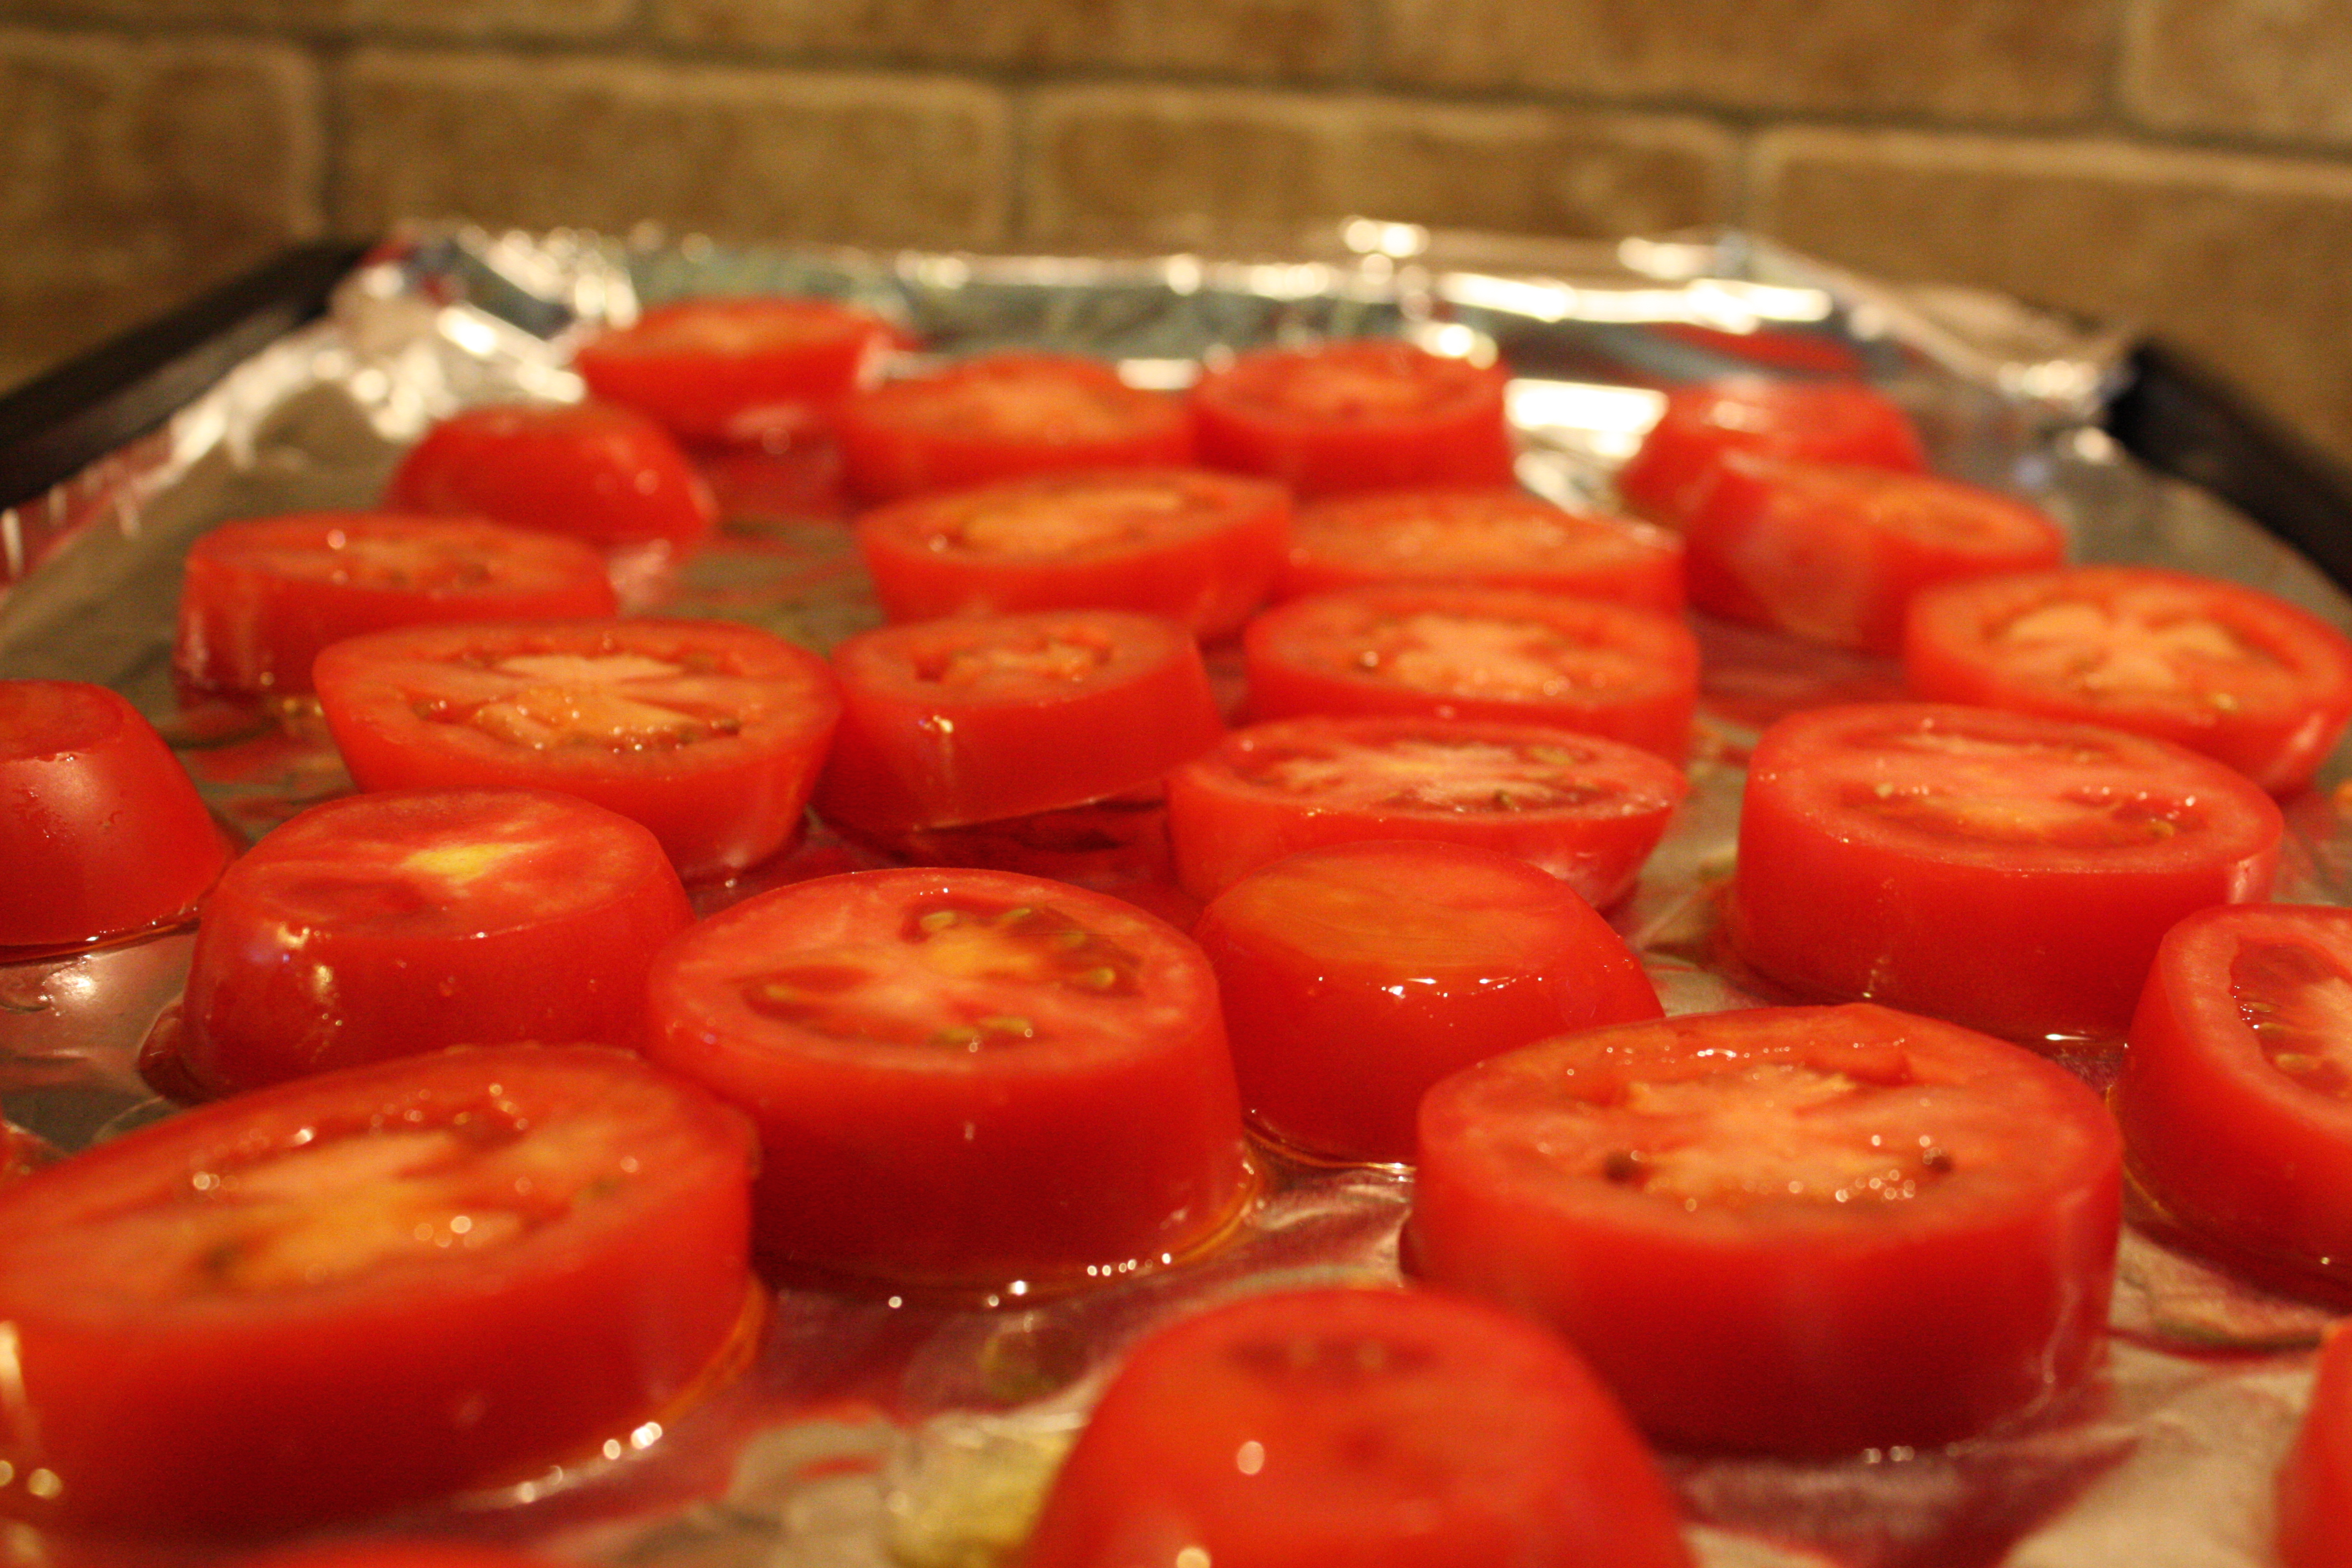
Caramelized, roasted tomatoes topped with fresh rosemary and thyme.
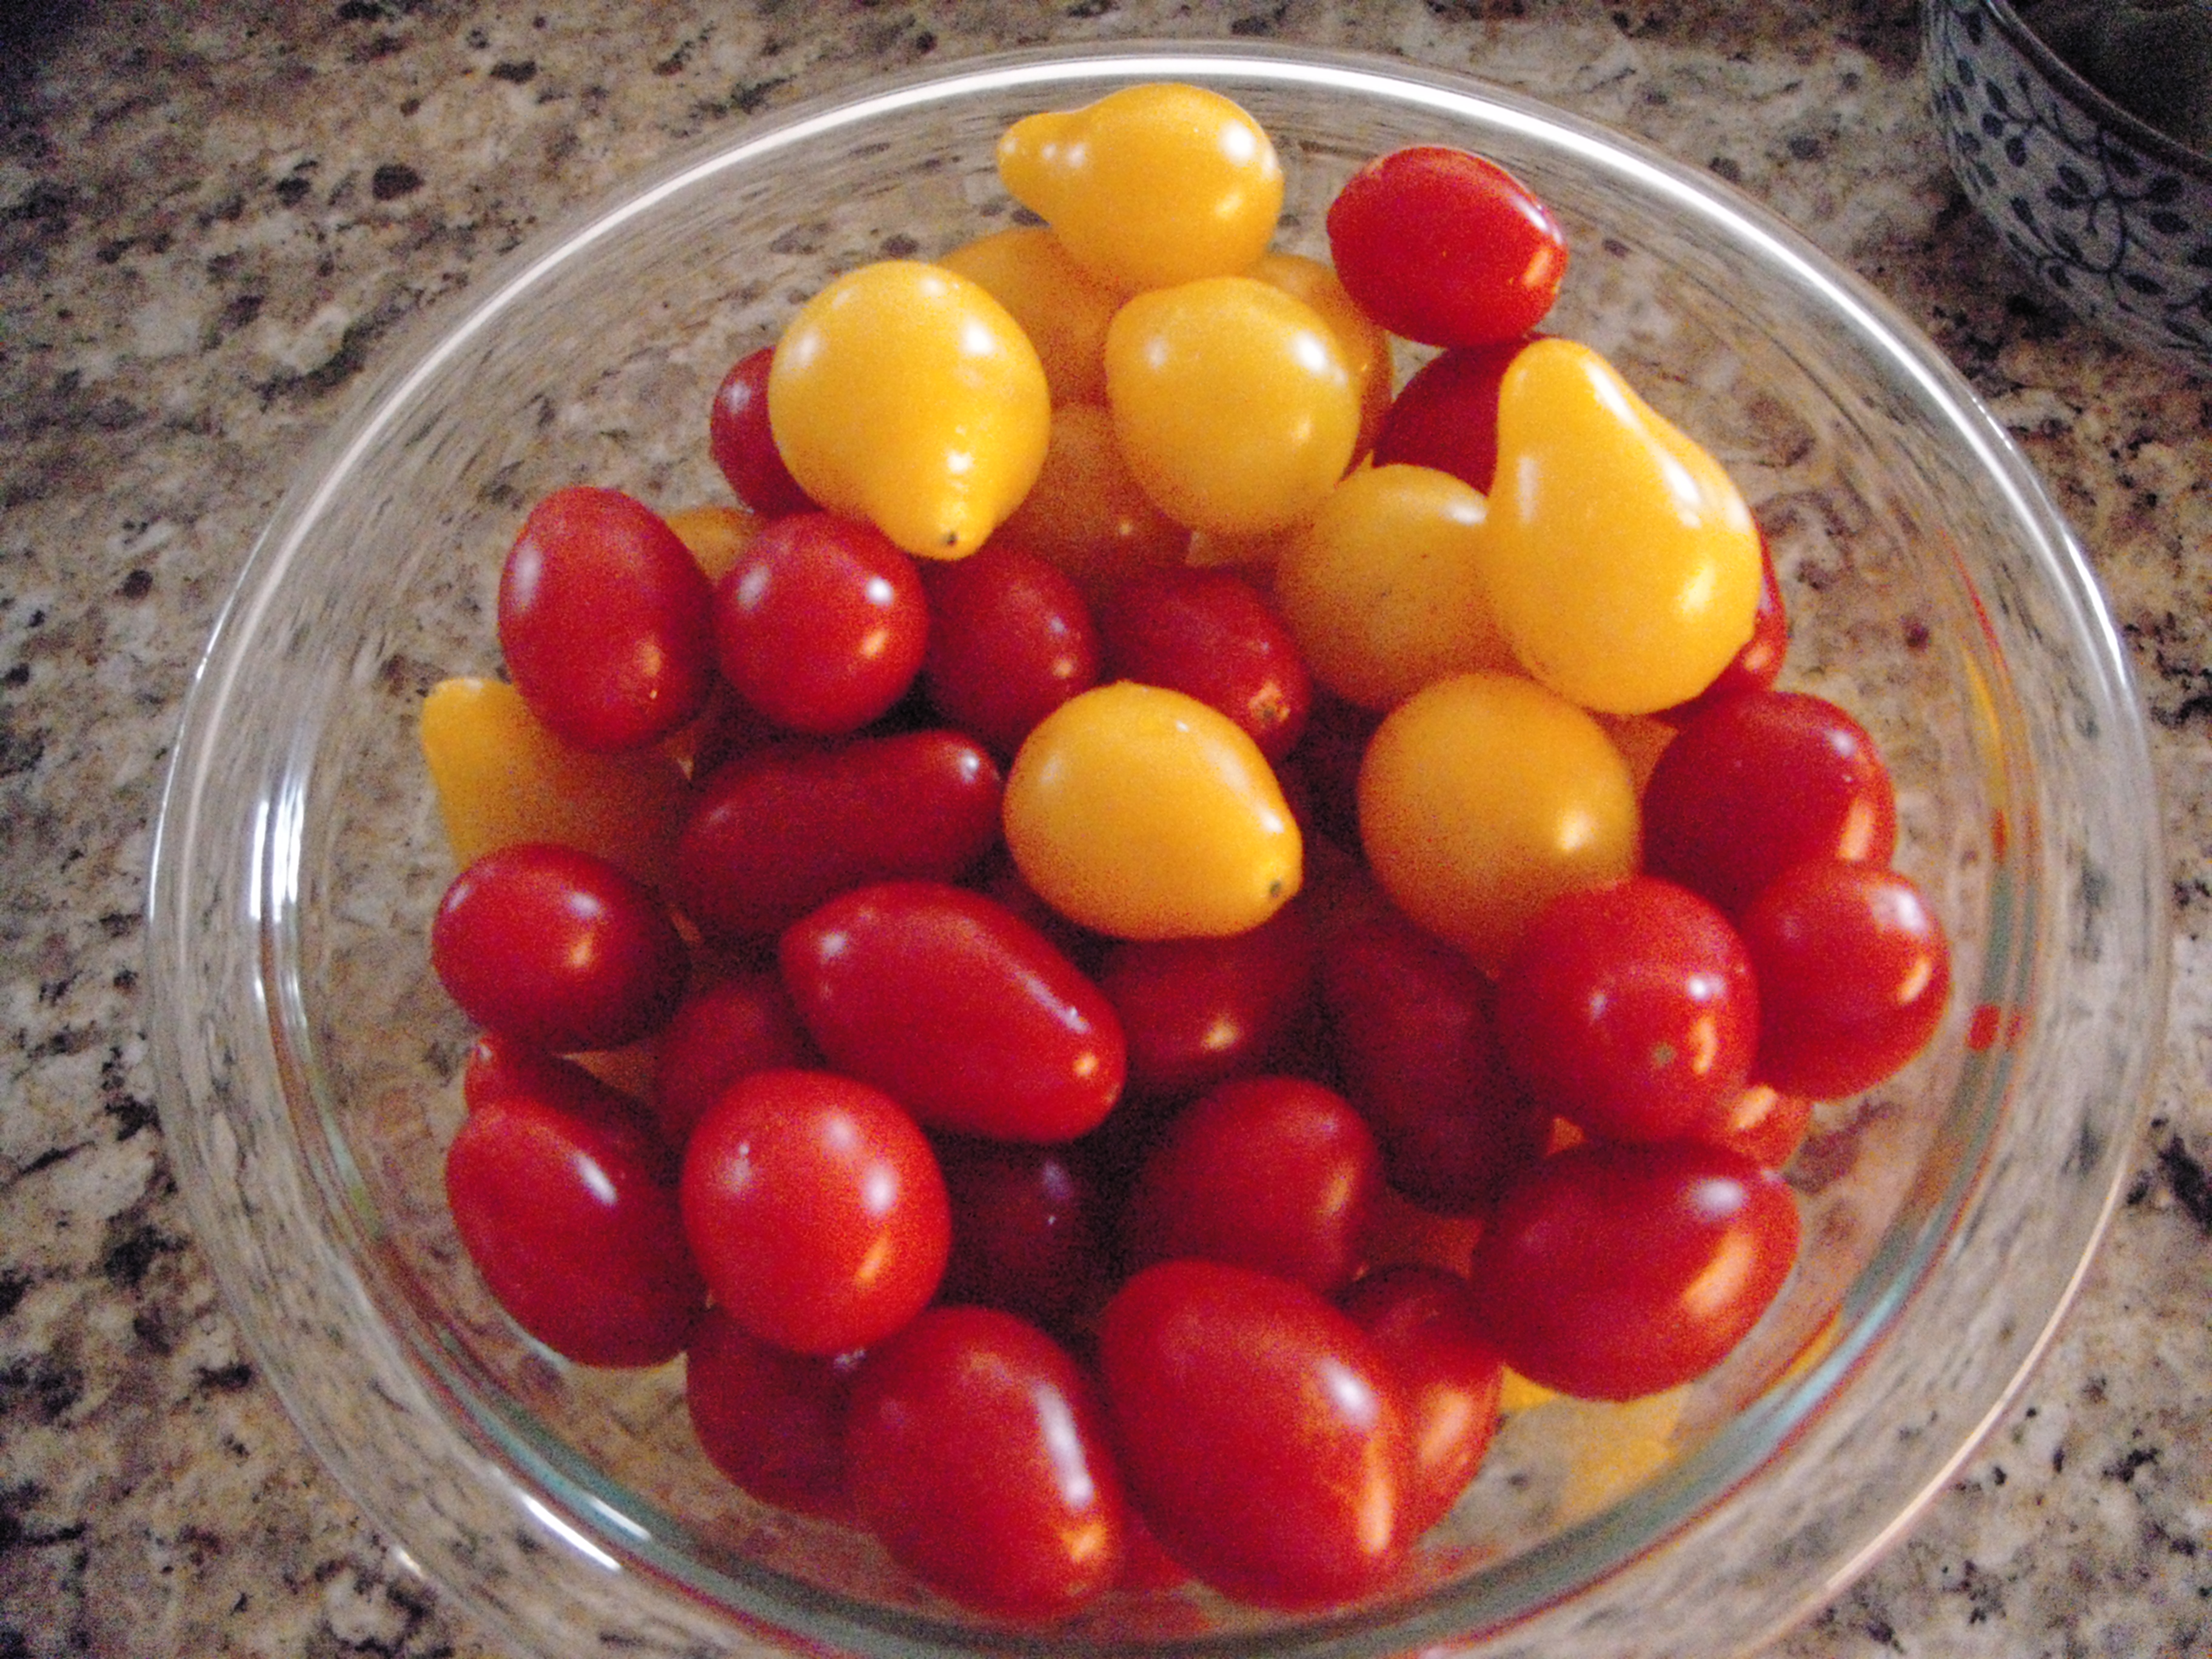
In Salt Lake City, J and I lived in a sweet little Victorian cottage in the 9th and 9th area. The house itself was a charming brick structure with a large backyard, and a good-sized, sun-soaked garden perfect for growing tomatoes and herbs. I’ve never considered myself a gardener, but somehow growing delicious tomatoes in the hot, arid Utah summers took little effort or skill. As long as you got them in after Mother’s Day, kept them watered and guarded against late frost and pesky snails, they pretty much grew themselves.
Starting around mid-July, we’d start enjoying the ripening Early Girls, Beefsteaks and Roma tomatoes in salads, fresh tomato sandwiches and pasta sauces and by September, you couldn’t turn around without stepping on a tomato. Well, now, where did you come from, my pretties? So plump and delicious, the mouth waters. All the better to eat you with!
Sometime in the mid-90s, I came across a recipe for oven roasted tomatoes with fresh garden herbs. Perfect for the end of September when the cricket thrums slow to the tempo of a porch rocking chair, these tomatoes go in a low oven for at least three hours. As they slowly give up their juices, they fill the house with an aroma so herbaceous and now familiar to me, it is a powerful symbol for the arrival of fall, and the comfort of home.
I make these tomatoes at least once a year in the fall, even though it’s been more than 10 years since we’ve had the “problem” of an exploding tomato population. What a shock it was moving to Chicago, and having access only to bland, waxy, hard grocery store tomatoes. Even so, this simple technique vaults even the most anemic tomatoes over the brink of caramelized deliciousness. Incredible on sandwiches, wrapped in a warm corn tortilla or munched straight off the cookie sheet, these gems don’t last for more than a few hours in our house. But if they did, I imagine they’d also be delicious on pizza, in pasta or atop crostini. Ladies and gentlemen: Welcome to autumn.
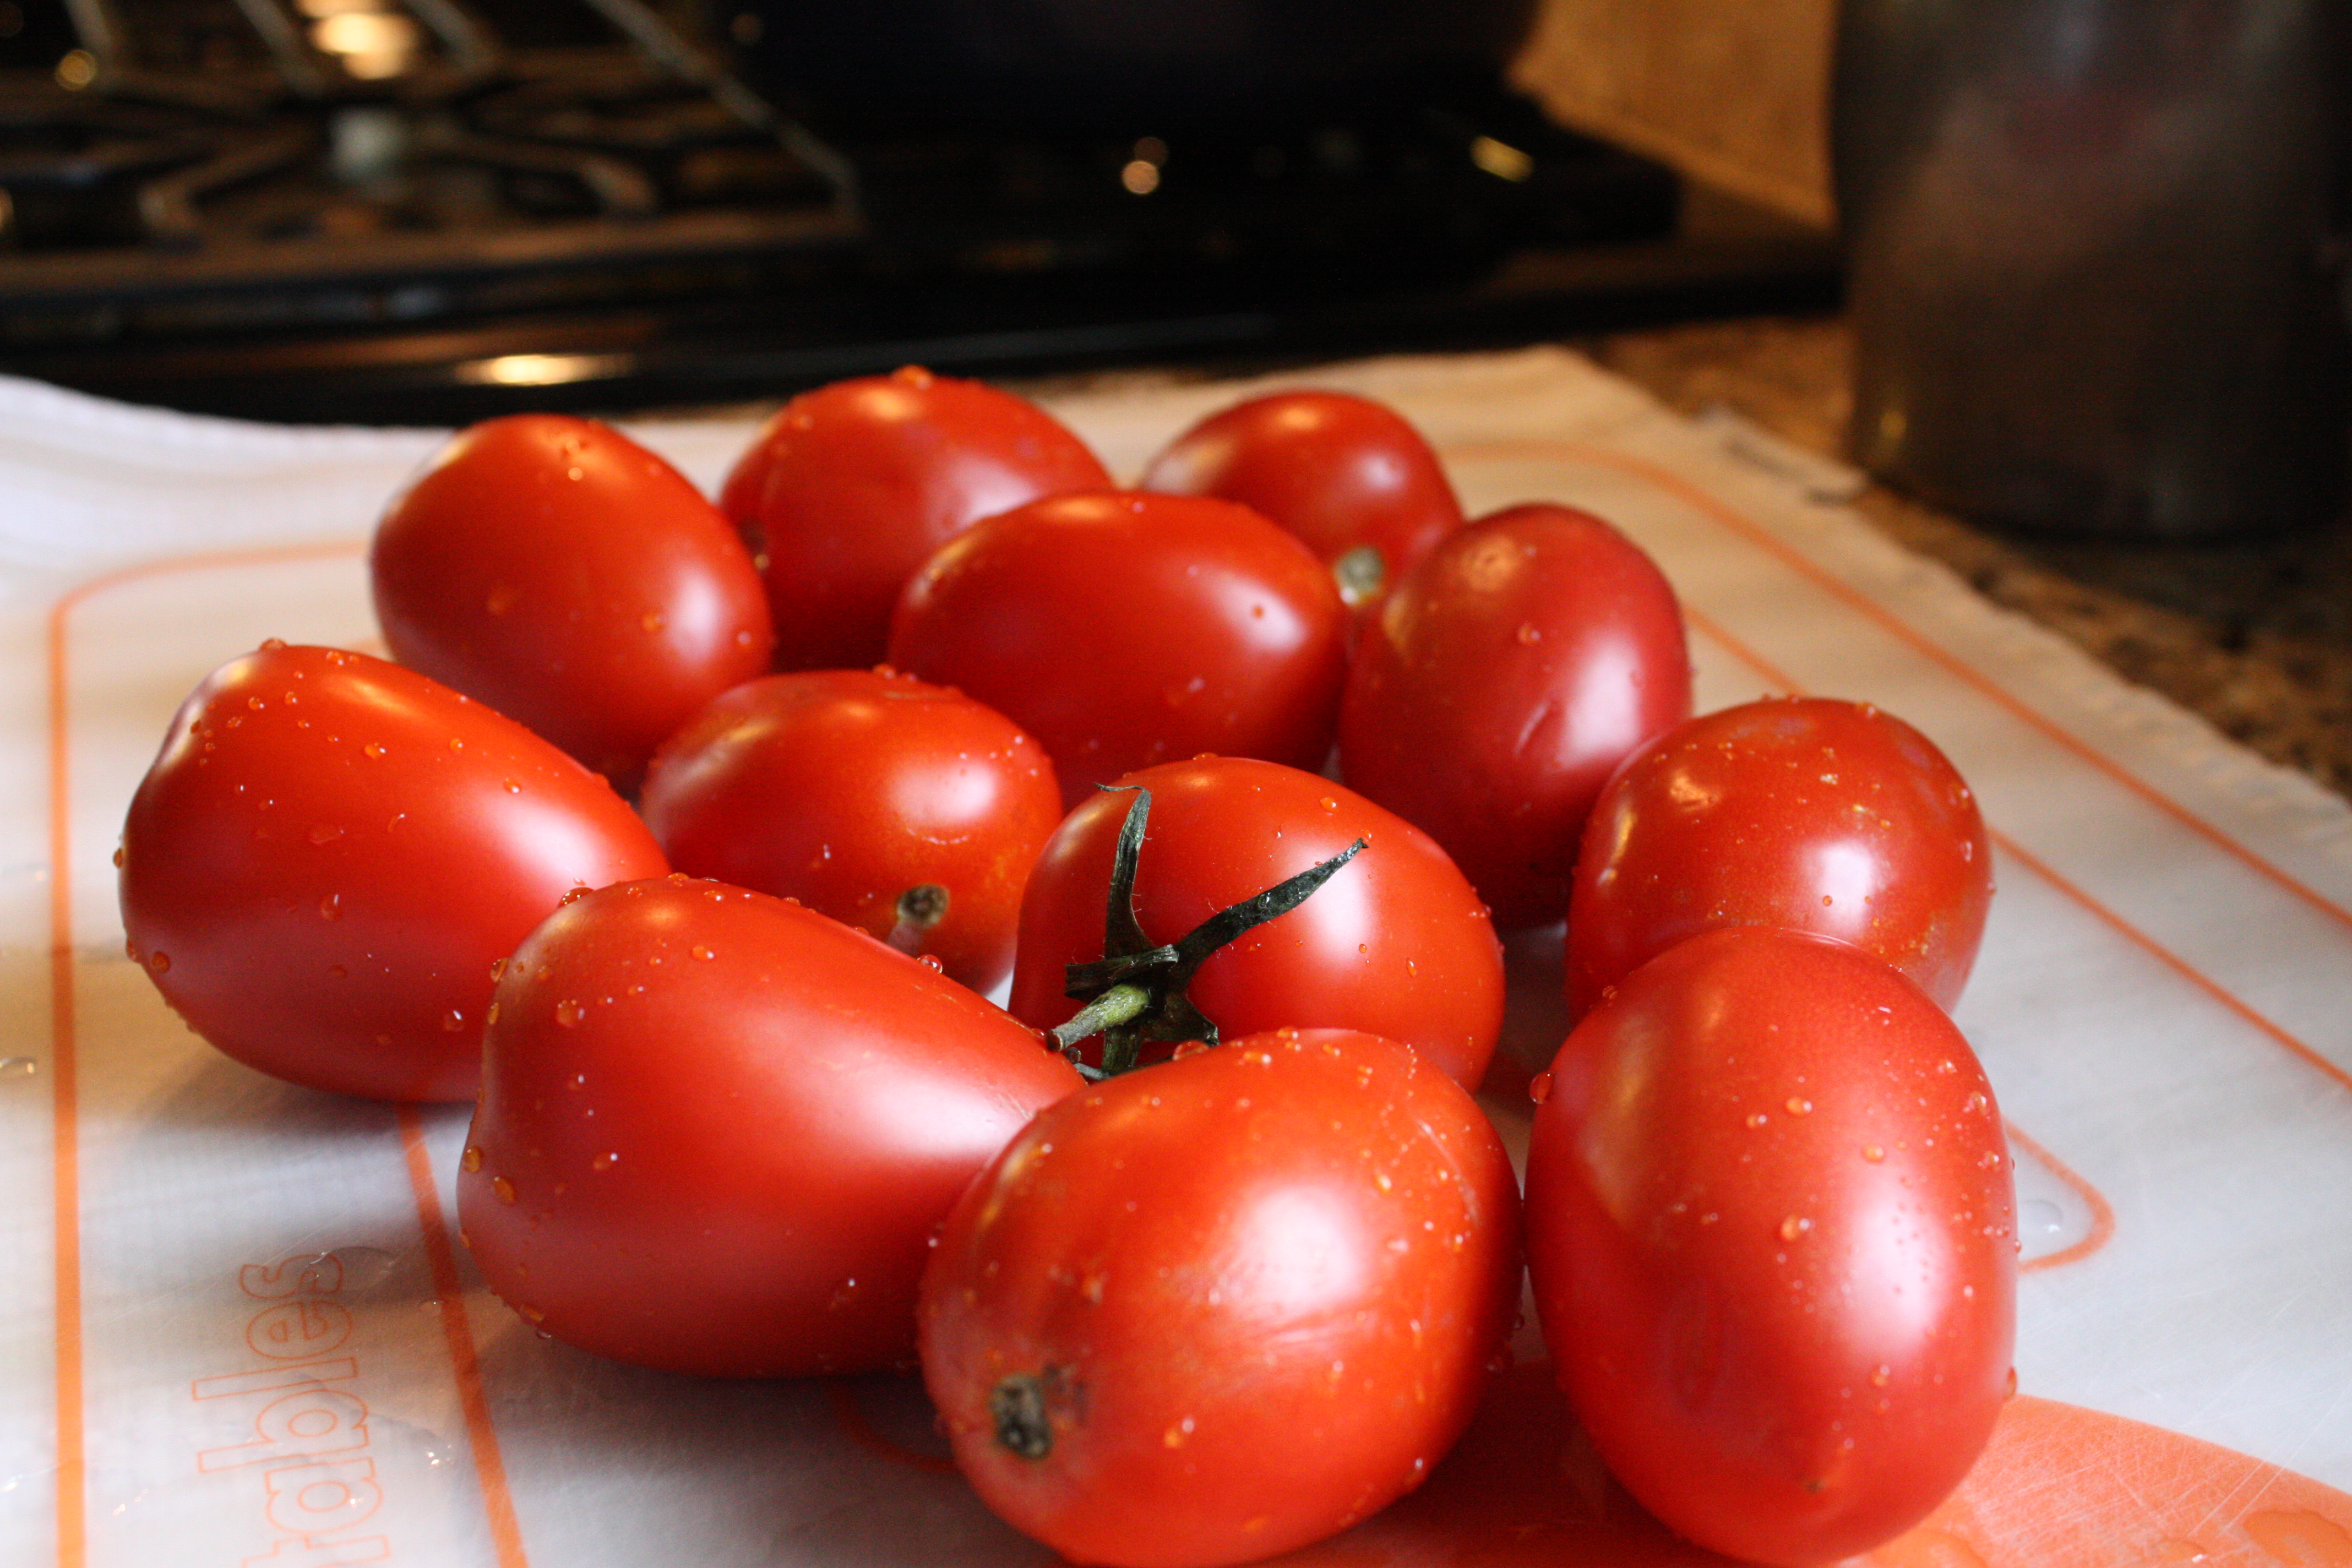
Slow-roasted Tomatoes
10 to 12 Roma tomatoes
4 tablespoons kosher salt or sea salt
4 tablespoons sugar
1 to 2 teaspoons freshly ground pepper
Extra virgin olive oil
1/2 to 2/3 cup finely-chopped fresh herbs (thyme, rosemary, sage, basil)
Pre-heat the oven to 250 degrees F. Line two cookie sheets with aluminum foil or a Silpat liner. Cut the ends off the washed tomatoes; cut into thick crosswise slices. 1/4 to 1/2 inch wide. (The thinner the slice, the more the tomatoes shrivel. I prefer thinner slices.) Arrange the tomatoes on the cookie sheets, and drizzle each slice with a bit of olive oil. Turn the slices over, and repeat on the other side.
Mix the salt, sugar and pepper in a small bowl. Sprinkle a large pinch of the mixture on each tomato slice. Sprinkle on herbs.
Roast for three hours or until the tomatoes start to dehydrate. (If your slices are thicker, they can stay in longer. Just don’t let them burn.) Or, roast for two hours , turn off the oven, and leave overnight.
Refrigerate in an airtight container — that is, if they last that long.
-

- Caramelized, roasted tomatoes topped with fresh rosemary and thyme.
-

- Store-bought tomatoes, unfortunately.
-

- Thick-sliced Roma tomatoes, ready for roasting.
-

- Drizzled with olive oil.
-

- All dressed up and ready for the oven.

-

- Tomatoes in the oven, smelling delicious.


Oven-baked beans, just simmerin' away.
An unusual summer Sunday: J was on call all weekend, and I had signed up for a daylong sewing class in our neighborhood. Meanwhile, J’s mom, Margaret, was scheduled to arrive in the afternoon. And, to top it all off, we had invited James and Zandra over for Sunday dinner. Our Sundays are typically far more relaxed, but this was the exception, and with J being tied to work, the shopping and other dinner preparations were up to me. So, when planning the meal, the mantra was: Keep it simple; make it ahead.
Taking inspiration from the mid-summer edition of Saveur — BBQ Nation — we decided to employ the grill for dinner. And after debating the various grilling options, we landed on sausages made at our neighborhood grocery store, New Seasons. When I told the eager-to-help man at the meat counter our plan to offer a variety of sausages, he said he’d hosted his own sausage feast just a few days earlier, and it was a huge success. Upon his hearty recommendation, I choose the chicken, feta and spinach links (he admitted he didn’t think he’d like them, and was surprised when they turned out to be his favorite). Then I grabbed a couple of basic bratwurst and a few spicy Polish sausages. The main dish was set, and next it was onto sides.
Saveur had featured a lovely summery cucumber salad in the barbecue edition that intrigued me. Thin-sliced, peeled cucumbers and red onion tossed with sour cream and sherry wine vinegar dressing. I made the dressing the night ahead, leaving the cucumber slicing for the last minute. This was easy enough, but in retrospect, I should have sliced and drained the cukes the night before as one does for tzatziki. Noted for next time.
The menu lacked something. We discussed pasta salad and potato salad before finally landing on oven-baked beans, also from the magazine. I’d never baked my own beans, and hadn’t contemplated how making them from scratch would improve the flavor. Of course I should have known. My adaptation adds more onion, less sugar and a touch of bourbon.
Oven-baked Beans
8 to 10 slices bacon, cut into chunks
1 diced large yellow onion
4 15-ounce cans navy beans, drained and rinsed
2 cups barbecue sauce (homemade or store bought)
3/4 cup beef stock
1 cup brown sugar
1/4 cup molasses
1/4 cup bourbon
1/8 teaspoon clove, finely ground
2 teaspoons kosher salt
1 tablespoon dry mustard
6 to 8 whole, peeled canned tomatoes, hand crushed
Preheat oven to 350. Sautee the bacon in a Dutch oven or deep oven-proof skillet until soft, but not crisp. Add the diced onions and cook until translucent. Add the sugar, molasses, bourbon, barbecue sauce, stock, tomatoes, clove, mustard, salt and stir until mixed. Bring the mixture to a boil to thicken slightly. Add the beans and bring to a simmer.
Cover and bake for 2 hours. Let cool before serving.
The beauty of this recipe is that it can be made ahead, and re-heated either on the stove top or in the oven before serving. In fact, making the beans ahead only intensifies the flavors.
Yep. File this meal under easy, rich, slightly sweet and sublimely summer.
-

- Oven-baked beans, just simmerin’ away.
-

- Sweet summer corn.

-

- The ultimate finger food.
-

- Cucumber salad.

-

- Bacon. Rendering.

-

- + Onions.

-
- The mix pre-beans.
-

- Boil, boil, bubble and simmer.
-

- Ready for the oven.

-

- Deeply rich: I give you oven-baked beans.

